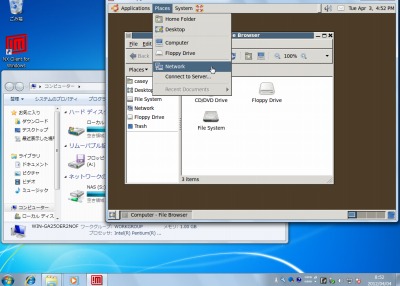
NX Client for Windows を利用すると、Linux サーバーに遠隔接続できます。
ここではインストールを行います。セットアップ(接続設定)ついては、以下のサポート記事をご参照ください:
ダウンロード
「NoMachine NX – Download: NX Client for Windows」から「nxclient-3.5.0-7.exe」をダウンロードします。
(追記) 以下に変更されたようです:
- NoMachine – NX-3-5-0-Download-Package
http://www.nomachine.com/NX-3-5-0-Download-Package&Prod_Id=3835
※その他のOS 用クライアントソフトウェアは「NoMachine NX – Download the NX Terminal Server and Remote Access Software」からダウンロードできます
インストール
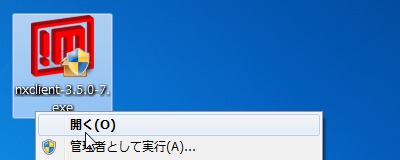
「nxclient-3.5.0-7.exe」を実行します。
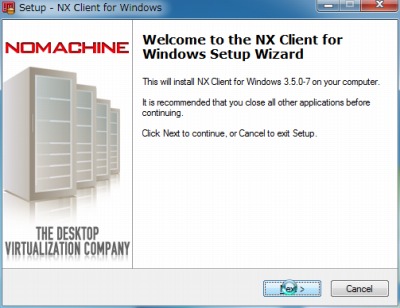
「Welcome to the NC Client for Windows Setup Wizard」と表示されたら、[Next]をクリックします。
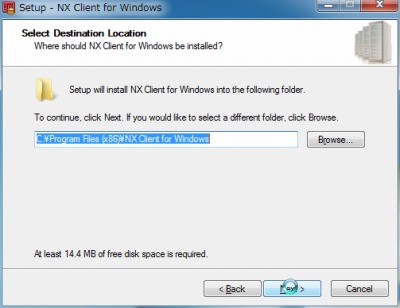
「Select Destination Location」と表示されたら、[Next]をクリックします。
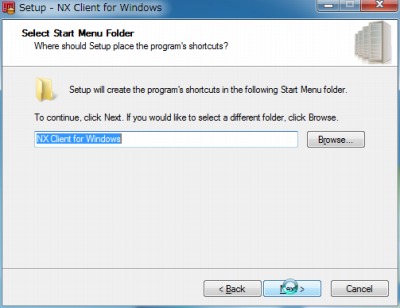
「Select Start Menu Folder」と表示されたら、[Next]をクリックします。
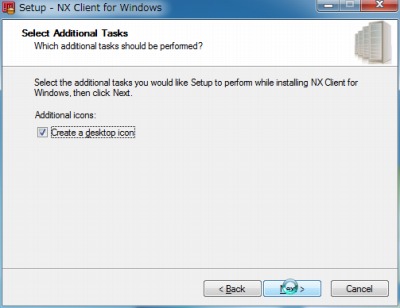
「Select Additional Tasks」と表示されたら、[Next]をクリックします。
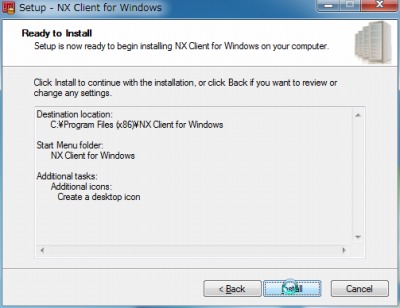
「Ready to Install」と表示されたら、[Install]をクリックします。
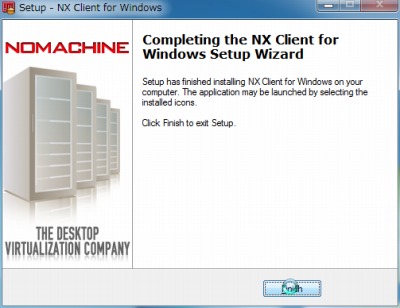
「Completing the NX Client for Windows Setup Wizard」と表示されたら、[Finish]をクリックします。
注意
- 本操作例はWindows7 SP1 64bit のものです
スポンサードリンク