
「Adobe Reader and Acrobat Cleaner Tool」は、Adobe 製品のインストールやアンインストールが正常にできなくなった場合に使用する Adobe 公式ツールです。
Adobe Reader および Adobe Acrobat 用の Cleaner Tool を使用することにより、通常のアンインストール処理では削除されない、環境設定および各種設定などを削除することができます。このツールはユーザーインターフェースとコマンドラインのどちらからでも使用することができます。(「Adobe Reader および Acrobat 用の Cleaner Tool について(Windows)」より引用)
ダウンロード
以下よりダウンロードします:
- Acrobat Reader(Adobe Reader) および Acrobat 用の Cleaner Tool について(Windows)
https://helpx.adobe.com/jp/acrobat/kb/cpsid_93506.html
※この例では「acrobat_ittools_cleaner_p1_040612.zip」をダウンロードしました
ファイルの解凍

ダウンロードした「acrobat_ittools_cleaner_p1_040612.zip」を解凍します。
ファイルの解凍方法についは、次のサポート記事をご参照ください:
使い方
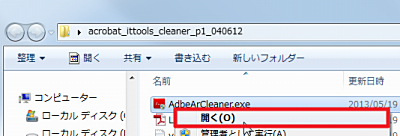
「AdbeArCleaner.exe」を実行します。
「Adobe Reader and Acrobat Cleaner Tool」が起動したら、[Next]をクリックします。
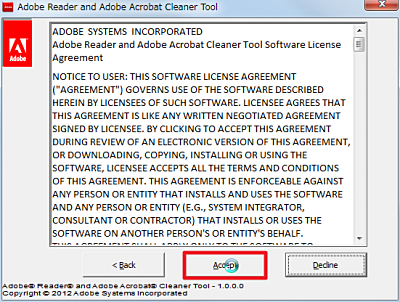
ライセンスに同意できる場合は、[Accept]をクリックします。
Readerの場合
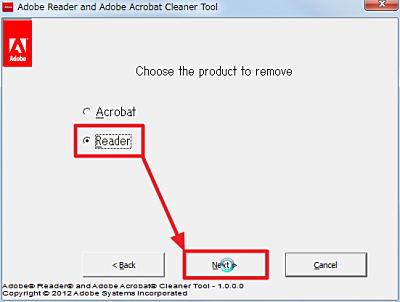
[Reader]を選択し、[Next]をクリックします。
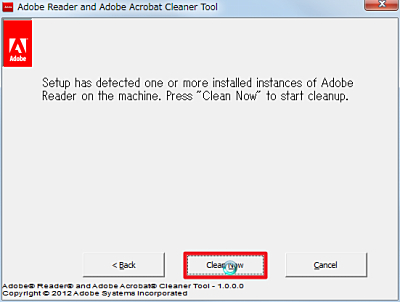
[Clear Now]をクリックします。
インストーラーが起動した場合は、操作します。
Acrobatの場合
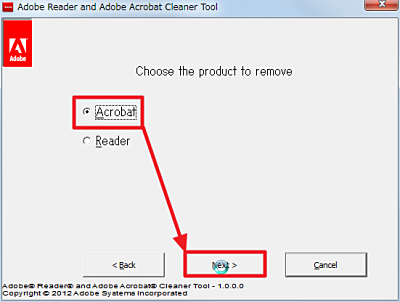
[Acrobat]を選択し、[Next]をクリックします。
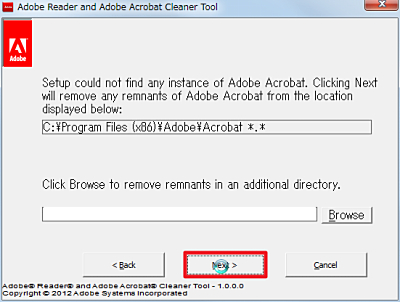
[Next]をクリックします。
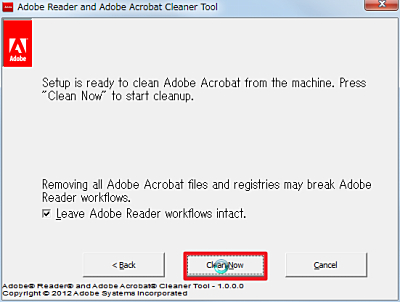
[Clean Now]をクリックします。
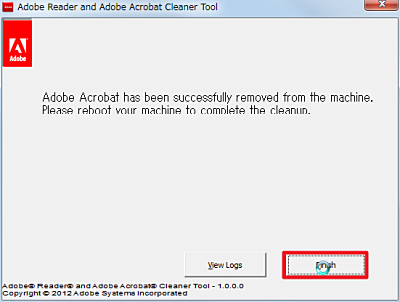
[Finish]をクリックします。
ログを確認
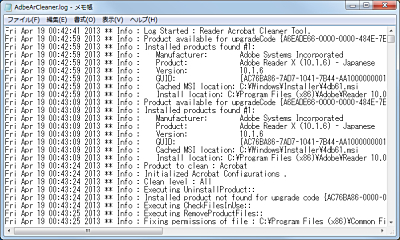
ログが作成されますので、必要に応じて確認します。
注意
- 本操作例は、Windows 7 64 bitのものです
- 2024/11/19 Update リンク切れを修正しました
スポンサードリンク