Tiny11 をインストールする方法です。
Tiny11
Tiny11 は、 Microsoft 社の Windows 11 をベースとし、不要な機能などを削ぎ落としたものです。Windows 11 のシステム要件をクリアできない環境にもインストールできる可能性があります。Microsoft 社の Windows 11 をベースにしていますが、 Microsoft 社公式のものではありません。
本記事は、中~上級者が自己の責任のもと技術的研究等を行うことを想定したものであり、日常的に使用することを想定しておらず、推奨するものでもありません。なお、起動不能になる現象を確認しています。
ダウンロード

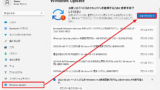
ダウンロードは Internet Archive から行います。また、Internet Archive へのログインが必要です。Internet Archive のアカウント作成については、次のサポート記事をご参照ください:
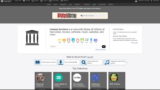
以下よりダウンロードします:
- tiny11 : NTDEV : Free Download, Borrow, and Streaming : Internet Archive
https://archive.org/details/tiny-11_202302
この例では「tiny11 b2(no sysreq).iso」をダウンロードしました。
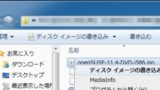
インストール メディアの作成
ISO イメージファイル等を DVD や USB メモリーに書き込む方法については、次のサポート記事をご参照ください:
インストール
インストール メディアから起動します。
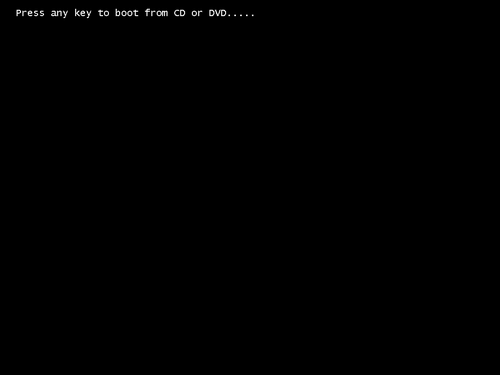
「Press any key to boot from CD or DVD …」と表示されたら、なにかキーを押します。
起動するまで待ちます。
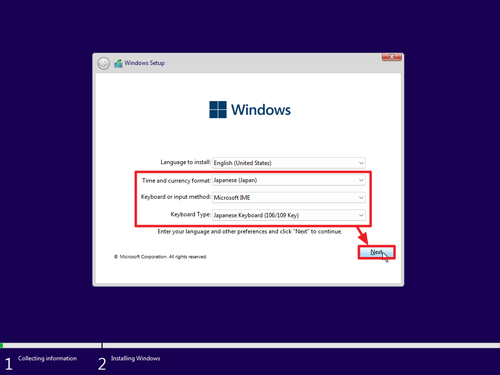
「Windows Setup」が表示されたら以下のように変更して[Next]をクリックします:
- 「Time and currency format」を[Japanese (Japan)]
- 「Keyboard or input method」を[Microsoft IME]
- 「Keyboard Type」を[Japanese Keyword (106/109 key)]
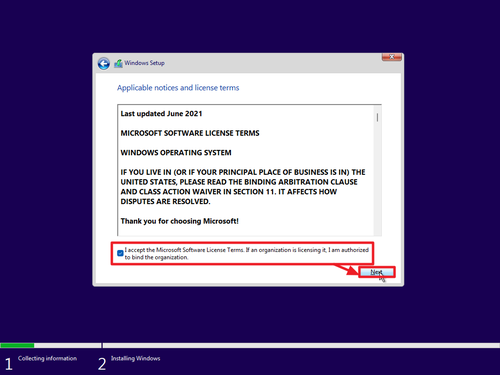
「Applicable notices and license terms」が表示されたら内容をよく確認して、同意できる場合は[I accept the Microsoft Software License Terms.~]にチェックを入れ、[Next]をクリックします。
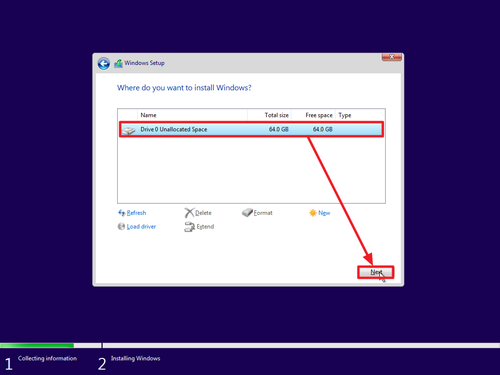
「Where do you want to install Windows?」と表示されたら、Tiny11 のインストール先を選択します。
※この例では、新規環境に Tiny11 をインストールします。既存環境にインストールするとデータを失いますのでご注意ください。
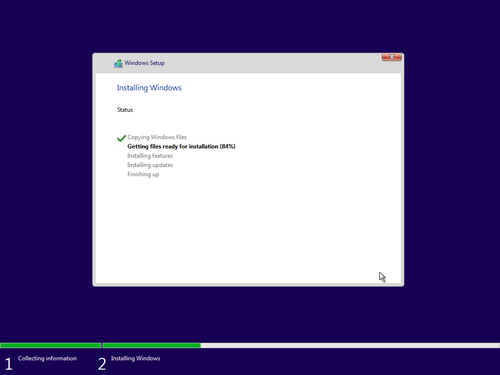
インストールが完了するまで待ちます。
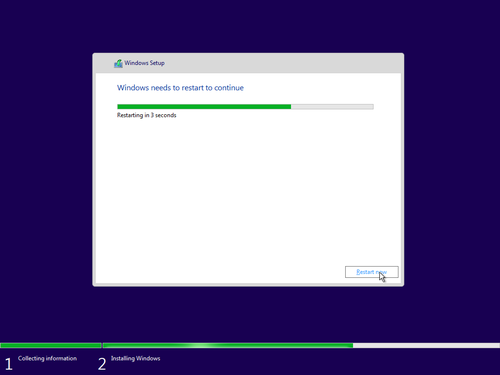
「Windows needs to restart to continue」と表示されたら、そのまま待つか[Restart now]をクリックして再起動します。
初回起動

起動するまで待ちます。この際、「Starting services」「Just a moment …」などの表示があります。
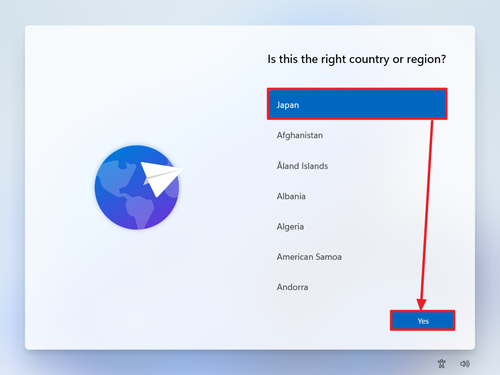
「Is this the right country or retion?」と表示されたら[Japan]を選択して[Yes]をクリックします。
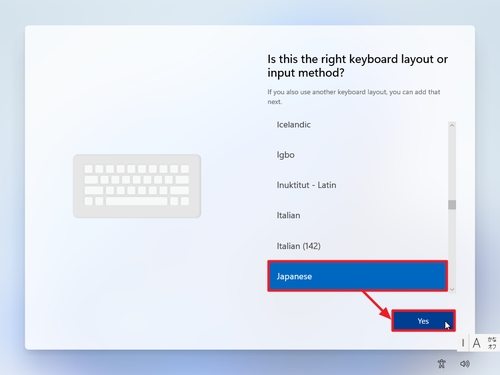
「Is this the right keyboard layout or input method?」と表示されたら[Japanese]を選択して[Yes]をクリックします。
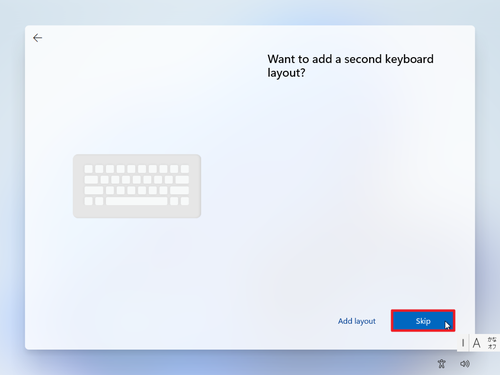
「Want to add a second keyboard layout?」と表示されたら[Skip]をクリックします。
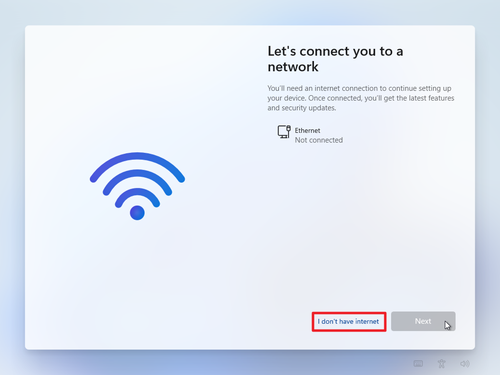
「Let’s connect you to a network」と表示されたら[I don’t have internet]をクリックします。
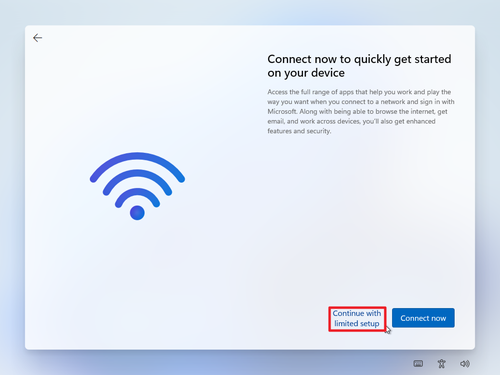
「Connect now to quickly get stated on your device」と表示されたら[Continue with limited setup]をクリックします。
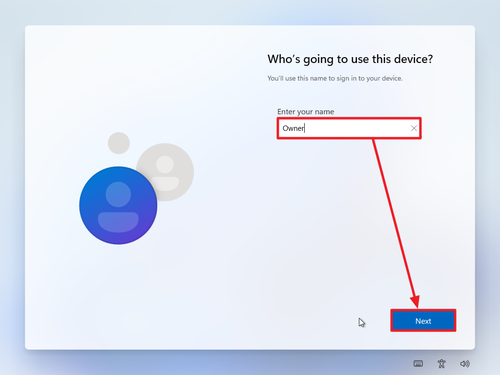
「Who’s going to use this device?」と表示されたら[ユーザー名を入力]して[Next]をクリックします。
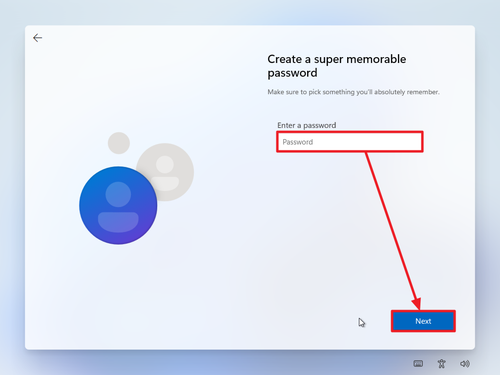
「Create a super memorable password」と表示されたら[パスワードを入力]して[Next]をクリックします。この際、パスワードを設定しない場合は、何もせず「Next」をクリックします。
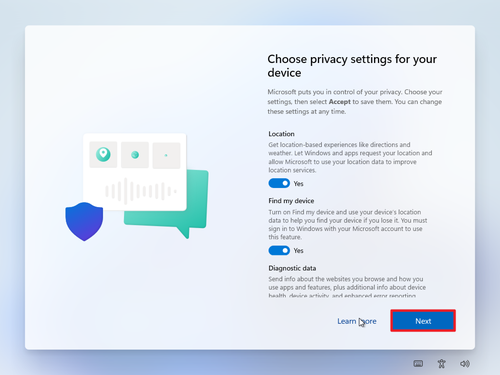
「Chose privacy settings for your device」と表示されたら[Next]をクリックします。
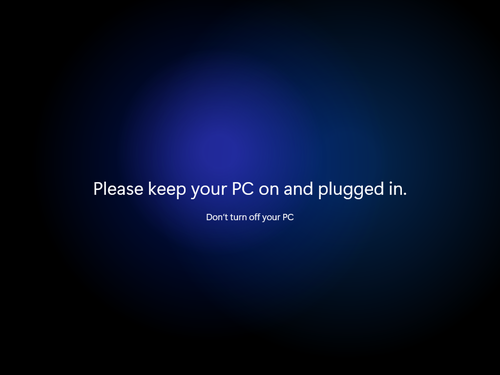
起動するまで待ちます。「Hi.」「Getting things ready for you」「This might take a few minutes」「Don’t turn off your PC」「Please keep your PC on and plugged in.」「Almost there.」などが表示されます。
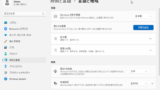
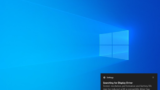
起動したところ。
日本語化
Tiny11 は、英語で使用します。入力に日本語キーボードが使用可能です。もし、日本語化したい場合は、次のサポート記事をご参照ください:
アップデート
Windows Update については、次のサポート記事をご参照ください:
参考
今回使用した Tiny11 は、Windows 11 Pro 22H2 22621.1194 をベースとしたものと思われます。
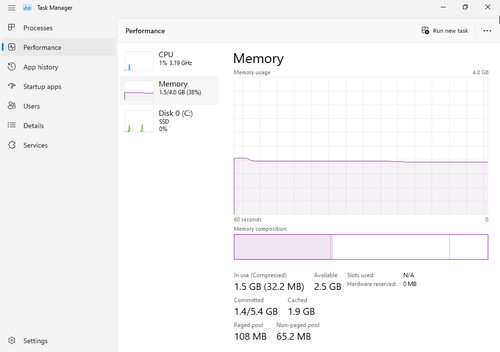
メモリー消費量は 1.5 GB 程度でした。
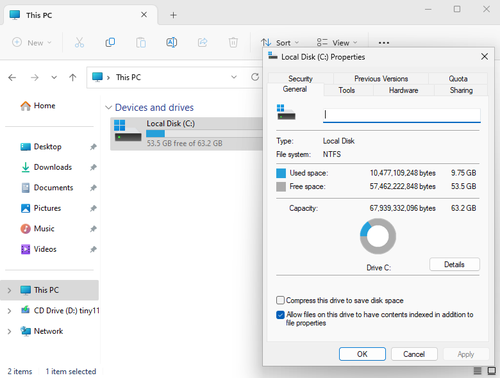
ディスク使用量は 9.75 GB 程度でした。
関連
Tiny10 をインストールする方法については、次のサポート記事をご参照ください:
Windows 11 に似た外観を持つ LinuxFx のインストールについては、次のサポート記事をご参照ください:

Windows クローンとも言われる ReactOS をインストールする方法については、次のサポート記事をご参照ください:
様々な OS のインストール方法については、次のサポート記事をご参照ください:
参考文献等
- De-Bloated Windows 11 Build Runs on 2GB of RAM | Tom’s Hardware
https://www.tomshardware.com/news/tiny11-lean-windows-11 - たった2GBのメモリで動く軽量版Windows 11の「Tiny11」登場 – GIGAZINE
https://gigazine.net/news/20230206-tiny11-windows-11/ - 2GBメモリでも動作可能な軽量化したWindows 11「tiny11」を試してみた:Windows 11 Trends – @IT
https://atmarkit.itmedia.co.jp/ait/articles/2303/06/news027.html
注意
- 本操作例は、中~上級者が Tiny11 を自己の責任のもと技術的研究を行うことを想定し、新規環境にインストールするものです
スポンサードリンク