Norton AntiVirus 2012 製品版のインストールメディアが自動起動した場合や、インストール済みのNorton AntiVirus からNorton AntiVirus 2012 (Ver.20) にアップグレードする場合の手順です。
なお、この例ではNorton AntiVirus 2012 (Ver.19) がインストールされている環境でNorton AntiVirus 2012 (Ver.20)にアップグレードしています。
Norton AntiVirus2012 をインストールする方法
Norton AntiVirus 2012 のインストール
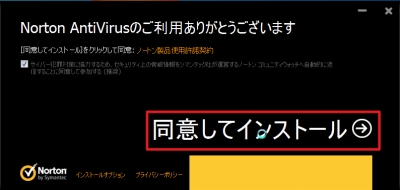
「ユーザ使用許諾契約」に同意できる場合は[同意してインストール]をクリックします。
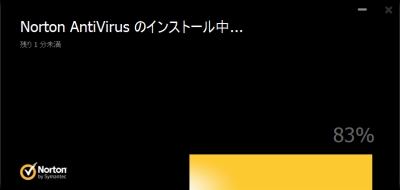
インストールが開始されます。しばらく待ちます。

設定が保存されています。しばらく待ちます。
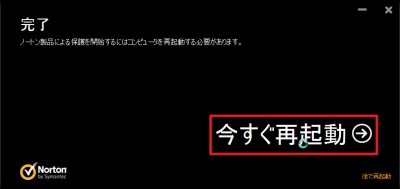
[今すぐ再起動]をクリックして再起動します。
アクティブ化
※再起動してから次の画面が表示されるまで時間がかかることがあります
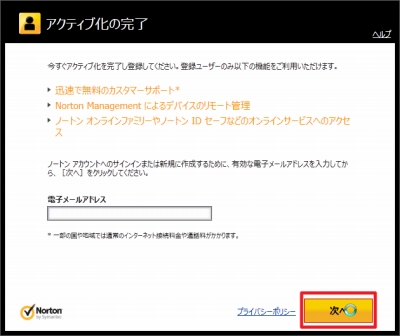
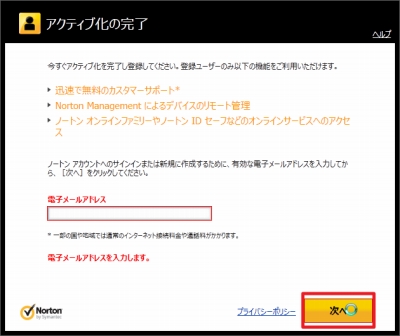
「アクティブ化の完了」が表示されます。
[次へ]をクリックします。
同様の画面が再度表示されますが、[次へ]をクリックします。
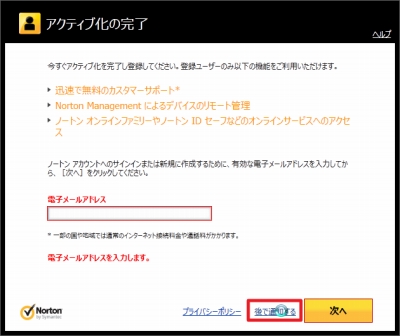
[後で通知する]をクリックします。
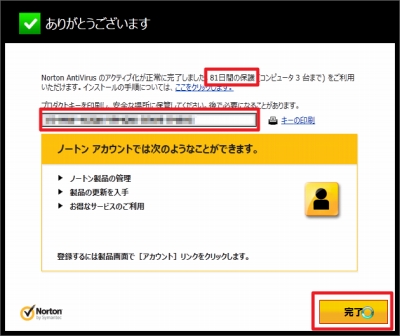
「ありがとうございます」と表示され、作業は完了です。
[完了]をクリックします。
動作確認
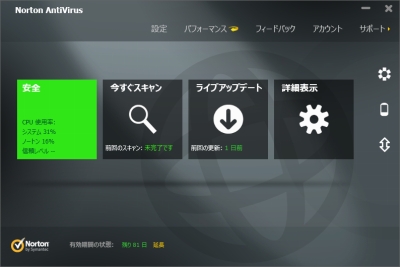
インストールが正常に完了すると、Norton AntiVirus 2012 の画面が表示されます。
引き続き「ライブアップデート」を実行してください。
注意
- 本操作例は Windows 7 SP1 64 bit 上で動作する Norton AntiVirus 2012 (Ver.20)のものです
- 本操作を行うにはインターネット接続が必要です
スポンサードリンク