マイクロソフト スピーチ プラットフォームのインストール方法です。
Microsoft Speech Platform
Microsoft Speech Platform (マイクロソフト スピーチ プラットフォーム) は、マイクロソフト社が提供する音声認識および音声合成のソフトウェア プラットフォームです。
発話させたり歌わせたりするソフトウェア製品は「初音ミク」や「ずんだもん」などさまざまな製品が登場しています。
本記事では Microsoft Speech Platform のインストールのほか、 Python スクリプトから発話するサンプル スクリプトを記載します。
Microsoft Speech Platform – Runtime のインストール
ダウンロード

以下よりダウンロードします:
- Download Microsoft Speech Platform – Runtime (Version 11) from Official Microsoft Download Center
https://www.microsoft.com/en-us/download/details.aspx?id=27225
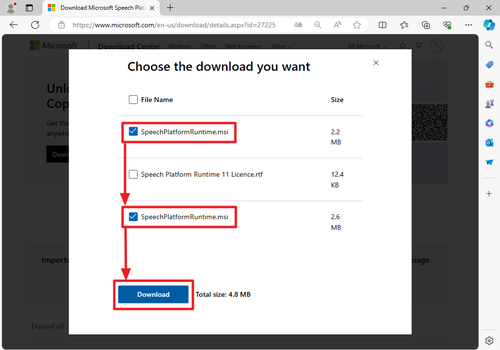
一覧から「SpeechPlatformRuntime.msi」と「SpeechPlatformRuntime.msi」にチェックを入れ、[Download]をクリックします。
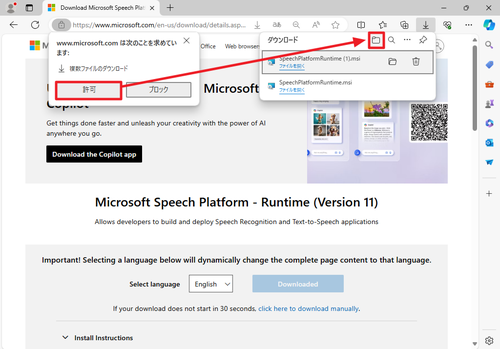
ダウンロードが完了したらフォルダのアイコンをクリックしてダウンロード フォルダを開きます。 (「複数ファイルのダウンロード」と表示されたら[許可]をクリックします)
通常、「SpeechPlatformRuntime_x64.msi」と「SpeechPlatformRuntime_x86.msi」のようにアーキテクチャによってファイル名が異なることが一般的ですが、ここでは同名となっていますのでご注意ください。中身は x64 と x86 で別のものです。
ダウンロードした祭、同名のファイルは存在できないため、2番目にダウンロードされたファイルは、自動的に「SpeechPlatformRuntime (1).msi」のようなリネームがなされます。
この例では、「SpeechPlatformRuntime.msi」 (2.2 MB) と 「SpeechPlatformRuntime (1).msi」 (2.6 MB) という結果になりました。どちらの内容のファイルがどの名前になったかは環境により異なりますが、どちらも実行してインストールしますので、ファイル名の違いは気にする必要はなく、実行する順番も気にする必要もありません。ちなみに 2.2 MB のほうが x86、2.6 MB のほうが x64 です。
インストール

「SpeechPlatformRuntime (1).msi」をダブルクリックするか、[右クリック]して[開く]をクリックします。
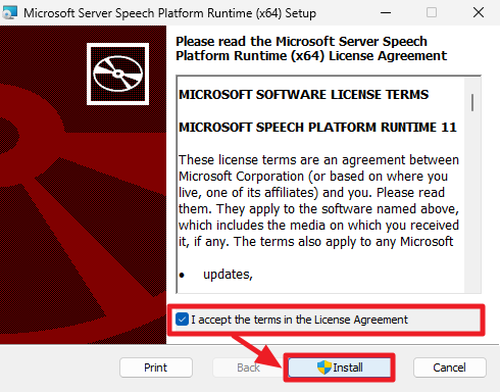
「Please read the Microsoft Server Speech Platform Runtime (x64) License Agreement」と表示されたら内容をよく確認し、同意できる場合は「I accept the terms in the License Agreement」にチェックを入れ[Install]をクリックします。

「ユーザ アカウント制御」が表示されたら[はい]をクリックします。
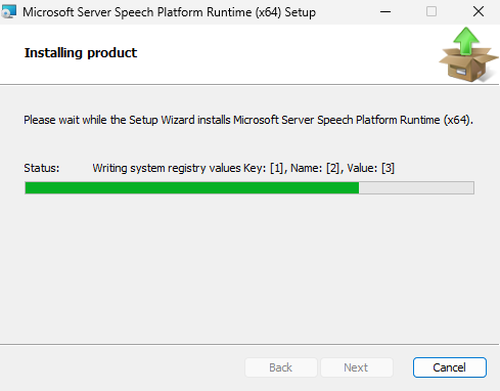
インストールが完了するまで待ちます。

「Completed the Microsoft Server Speech Platform Runtime (x64) Setup Wizard」と表示されたら[Finish]をクリックします。

「SpeechPlatformRuntime.msi」をダブルクリックするか、[右クリック]して[開く]をクリックします。
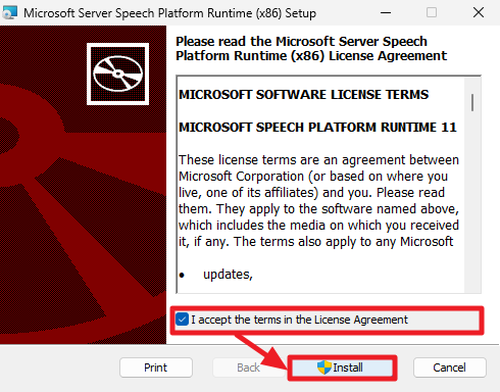
「Please read the Microsoft Server Speech Platform Runtime (x86) License Agreement」と表示されたら内容をよく確認し、同意できる場合は「I accept the terms in the License Agreement」にチェックを入れ[Install]をクリックします。
「ユーザ アカウント制御」が表示されたら[はい]をクリックします。
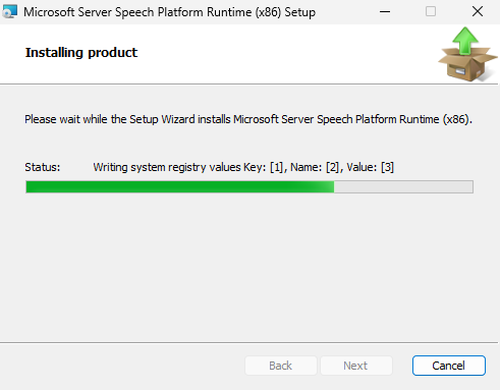
インストールが完了するまで待ちます。
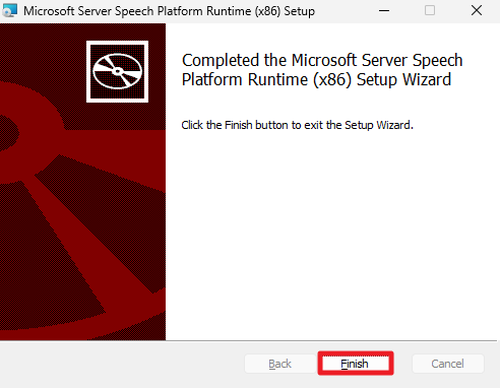
「Completed the Microsoft Server Speech Platform Runtime (x86) Setup Wizard」と表示されたら[Finish]をクリックします。
後始末
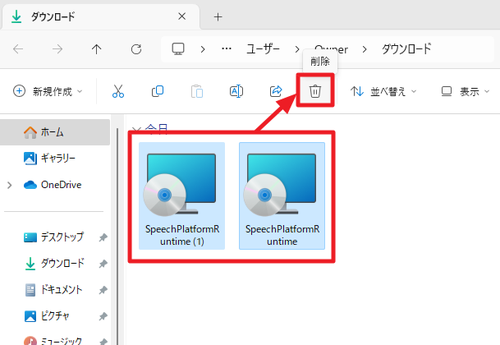
インストールが正常に完了したら「SpeechPlatformRuntime.msi」と「SpeechPlatformRuntime (1).msi」は削除できます。
Microsoft Speech Platform – Runtime Languages のインストール
ダウンロード
以下よりダウンロードします:
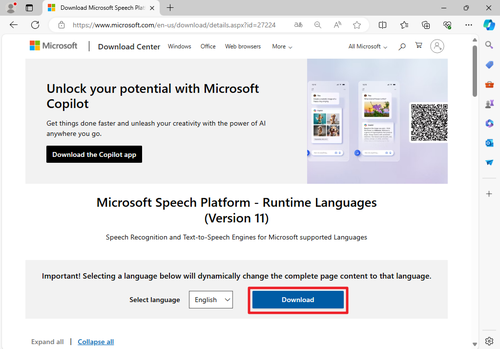
- Download Microsoft Speech Platform – Runtime Languages (Version 11) from Official Microsoft Download Center
https://www.microsoft.com/en-us/download/details.aspx?id=27224
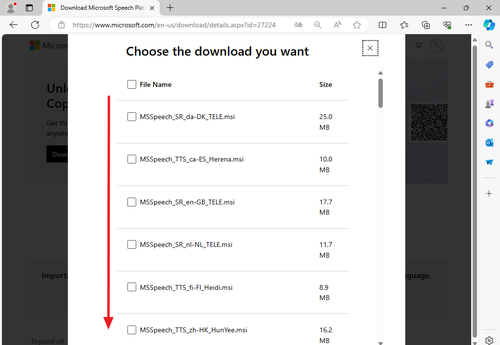
多数のファイルが一覧表示されますので、下方にスクロールします。
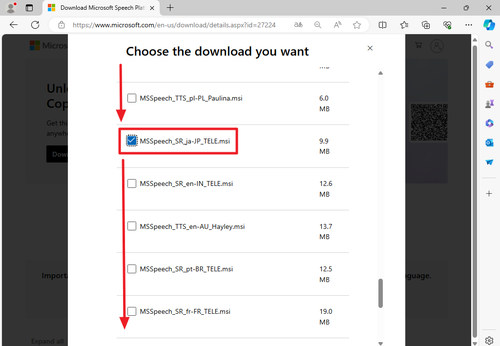
「MSSpeech_SR_ja-JP_TELE.msi」 (9.9 MB) を選択し、さらに下方にスクロールして-
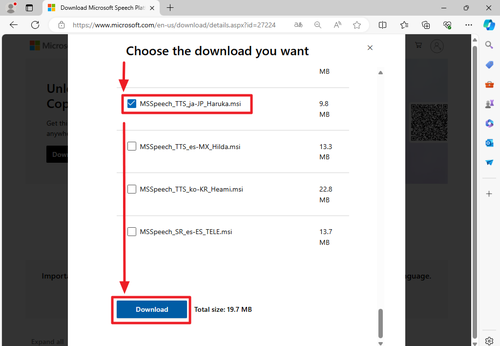
「MSSpeech_TTS_ja-JP_Haruka.msi」 (9.8 MB) を選択、[Download]をクリックしてダウンロードします。
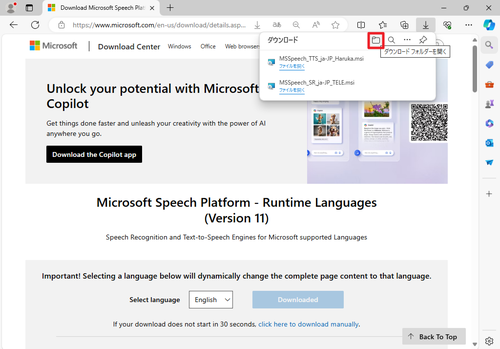
ダウンロードが完了したら[フォルダのアイコン]をクリックしてダウンロード フォルダを開きます。
インストール
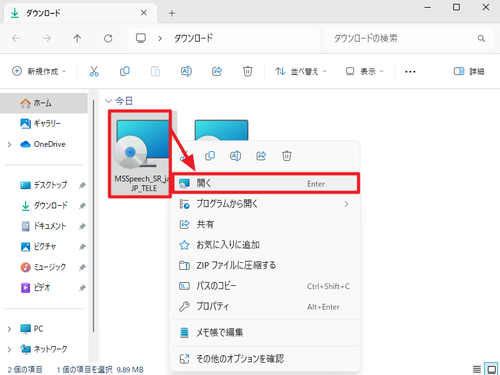
「MSSpeech_SR_ja-JP_TELE.msi」をダブルクリックするか、[右クリック]して[開く]をクリックします。
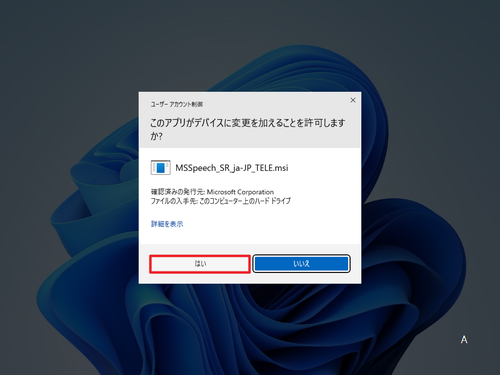
「ユーザ アカウント制御」が表示されたら[はい]をクリックします。
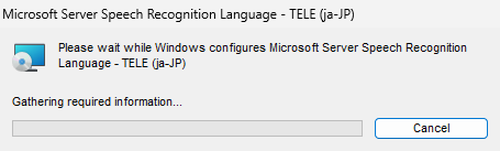
インストールが完了するまで待ちます。
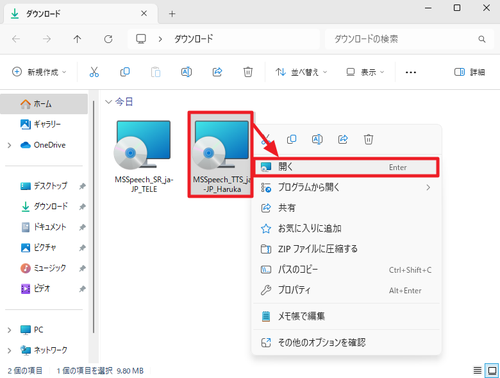
「MSSpeech_TTS_ja-JP_Haruka.msi」をダブルクリックするか、[右クリック]して[開く]をクリックします。
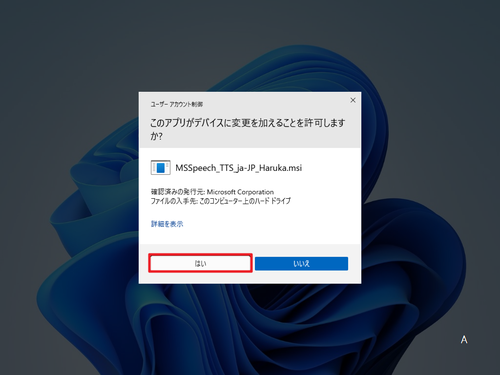
「ユーザ アカウント制御」が表示されたら[はい]をクリックします。
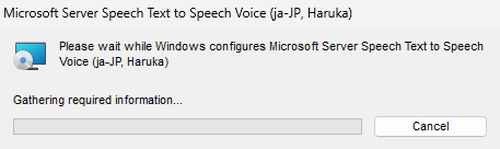
インストールが完了するまで待ちます。
後始末
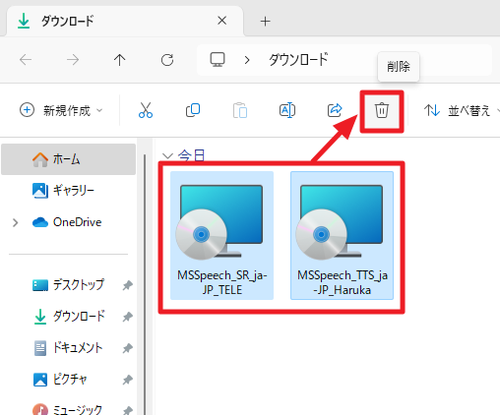
インストールが正常に完了したらダウンロードした「MSSpeech_SR_ja-JP_TELE.msi」と「MSSpeech_TTS_ja-JP_Haruka.msi」は削除できます。
動作確認
Python の準備
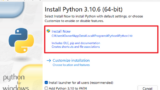
本記事では、動作確認としてかんたんな Python スクリプトを実行して発話します。Python をインストールする方法については、次のサポート記事をご参照ください:
スクリプトの準備
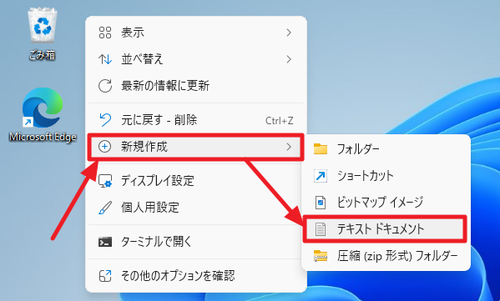
デスクトップの何もないところを[右クリック]し[新規作成]から[テキスト ドキュメント]をクリックします。
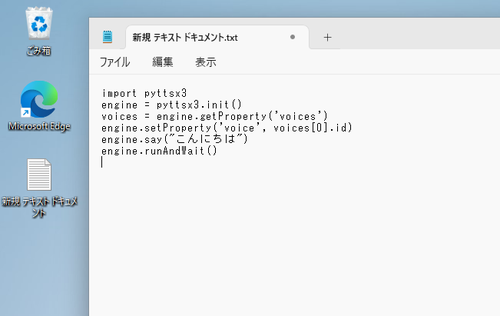
メモ帳が開いたら以下のコードをコピー アンド ペーストして保存します:
# -------------------------------------
# - TTS Test Script, Python Windows
# -------------------------------------
#
# 2024.06.15 Ver.0.1.0 1st
#
# py -m pip install -U pyttsx3
#

# init
import pyttsx3
engine = pyttsx3.init()

# list
voices = engine.getProperty('voices')
for voice in voices:
    print(f"{voice.name}")

# say
engine.setProperty('voice', voices[0].id)
engine.say("こんにちは")
engine.runAndWait()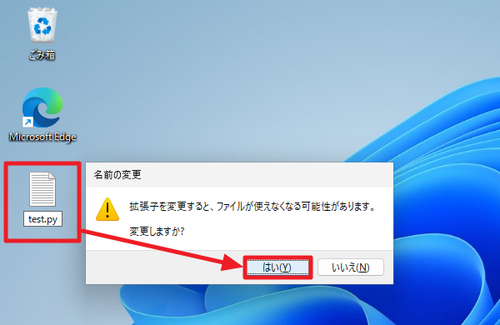
ファイル名と拡張子を「新規 テキスト ドキュメント.txt」から「test.py」に変更します。「拡張子を変更すると、ファイルが使えなくなる可能性があります。」と表示されたら[はい]をクリックします。
スクリプトの実行
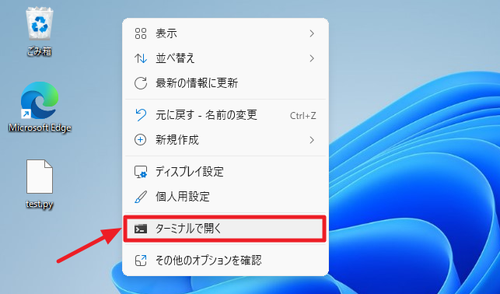
デスクトップの何もないところを[右クリック]し[ターミナルで開く]をクリックします。
以下のコマンドをコピー アンド ペーストして実行します:
py test.py実行例:
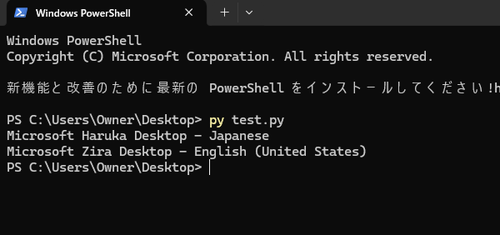
Windows PowerShell
Copyright (C) Microsoft Corporation. All rights reserved.

新機能と改善のために最新の PowerShell をインストールしてください!https://aka.ms/PSWindows

PS C:\Users\Owner\Desktop> py test.py
Microsoft Haruka Desktop - Japanese
Microsoft Zira Desktop - English (United States)
PS C:\Users\Owner\Desktop>実行に成功すると「こんにちは」と合成音声が聞こえます。エラーが表示された場合は「エラー例」を参照します。エラーがなく音声が聞こえない場合は、音量などを確認します。
(参考) このスクリプトは、選択可能な音声のリストも表示するようになっています。この例の環境では以下のような表示になりました:
- Microsoft Haruka Desktop – Japanese
- Microsoft Zira Desktop – English (United States)
以下を変更することによって発話者を変更することができます:
engine.setProperty('voice', voices[0].id)エラー例
ModuleNotFoundError: No module named ‘pyttsx3’
> py test.py
Traceback (most recent call last):
  File "C:\Users\Owner\Desktop\test.py", line 1, in <module>
    import pyttsx3
ModuleNotFoundError: No module named 'pyttsx3'
「ModuleNotFoundError: No module named ‘pyttsx3’」と表示された場合は、必要なモジュールがシステムにインストールされていません。次のコマンドを実行してインストールします:
py -m pip install -U pyttsx3実行例:
> py -m pip install -U pyttsx3
Collecting pyttsx3
  Downloading pyttsx3-2.90-py3-none-any.whl.metadata (3.6 kB)
Collecting comtypes (from pyttsx3)
  Downloading comtypes-1.4.4-py3-none-any.whl.metadata (6.4 kB)
Collecting pypiwin32 (from pyttsx3)
  Downloading pypiwin32-223-py3-none-any.whl.metadata (236 bytes)
Requirement already satisfied: pywin32 in c:\users\owner\appdata\local\programs\python\python312\lib\site-packages (from pyttsx3) (306)
Downloading pyttsx3-2.90-py3-none-any.whl (39 kB)
Downloading comtypes-1.4.4-py3-none-any.whl (210 kB)
   ━━━━━━━━━━━━━━━━━━━━━━━━━━━━━━━━━━━━━━━━ 210.6/210.6 kB 4.3 MB/s eta 0:00:00
Downloading pypiwin32-223-py3-none-any.whl (1.7 kB)
Installing collected packages: pypiwin32, comtypes, pyttsx3
  WARNING: The script clear_comtypes_cache.exe is installed in 'C:\Users\Owner\AppData\Local\Programs\Python\Python312\Scripts' which is not on PATH.
  Consider adding this directory to PATH or, if you prefer to suppress this warning, use --no-warn-script-location.
Successfully installed comtypes-1.4.4 pypiwin32-223 pyttsx3-2.90
[Errno 2] No such file or directory
> py test.py
C:\Users\Owner\AppData\Local\Programs\Python\Python312\python.exe: can't open file 'C:\\Users\\Owner\\test.py': [Errno 2] No such file or directory
「[Errno 2] No such file or directory」と表示された場合は、実行しようとしている Python スクリプト ファイルが見つからない状態です。本記事記載の手順どおり操作をしているか確認します。または、エラーの以下の部分 (ファイル パス) が正しいかどうか確認します:
C:\\Users\\Owner\\test.py※この例の場合は「C:\Users\Owner\Desktop\test.py」が正しいファイル パスです
※環境により「test.py」と表示されていても、実際は「test.py.txt」であることがありますので、拡張子を正しく変更します
※「Owner」は環境により異なります
※ファイル名を変更している場合は、適宜お読み替えください
注意
- 本操作例は Windows 11 に Microsoft Speech Platform をインストールして Python でテストするものです
スポンサードリンク