XenServer に追加した仮想マシンに、XenCenter を利用してXenServer Tools をインストールする方法です。
お読みになる前に

SEECK.JP の提供するサポート記事は、上図のような構成となっております。
XenServer Tools をインストールする方法
ホスト側操作
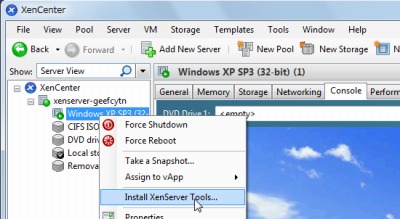
対象となる仮想マシンを[右クリック]し、[Install XenServer Tools]をクリックします。
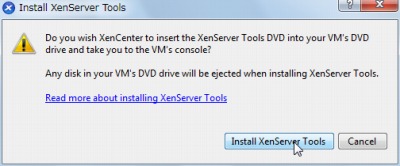
[Install XenServer Tools]をクリックします。
※「Install XenServer Tools」をクリックすると、XenServer Tools のインストール メディアが仮想マシンに挿入されます
ゲスト側操作
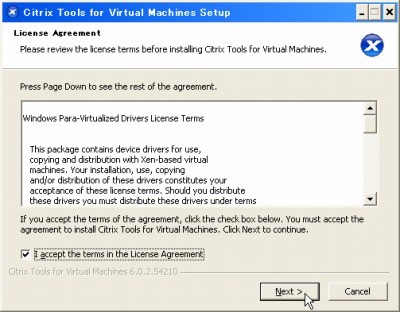
ライセンスに同意できる場合は「I accept the therms in the License Agreement」をチェックし、[Next]をクリックします。
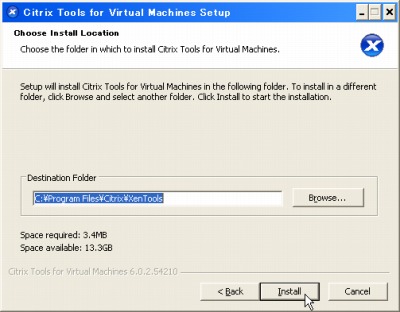
[Install]をクリックします。
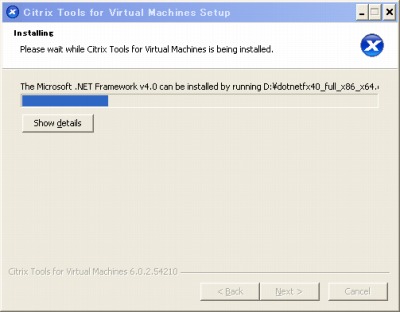
(インストールが完了するまで待ちます)
.NET Framework が入っていない場合
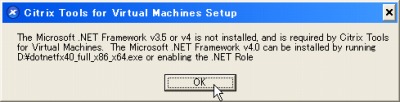
「The Microsoft .NET Framework v3.5 or 4 is not installed. and is required by Citrix Tools for Virtual Machines. The Microsoft .NET Framework v4.0 can be installed by running D:\dotnetfx40_full_x86_x64.exe or enabling the .NET Role」
上記のエラーが表示された場合は、[OK]をクリックします。
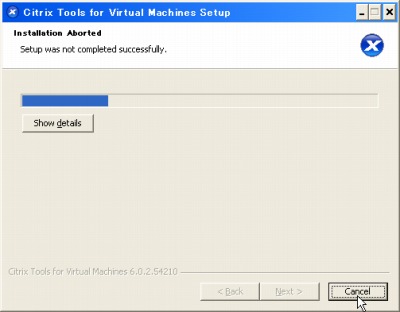
[Cancel]をクリックします。

[マイコンピュータ]を開きます。
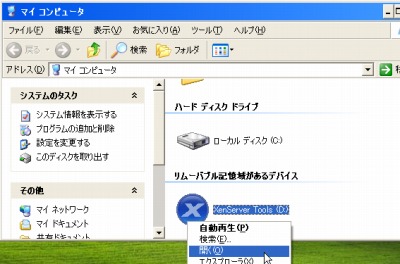
「リムーバブル記憶域があるデバイス」内の[XenServer Tools (D:)]を[右クリック]し、[開く]をクリックします。
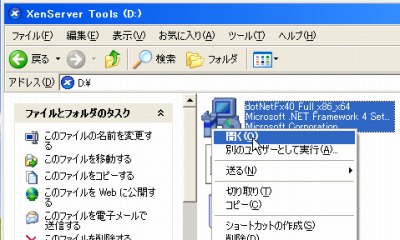
「dotNetFx40_Full_x86_x64」を実行すると.NET Framework のインストールが開始されます。.NET Framework のインストールについては、次のサポート記事をご参照ください:
→ .NET Framework 4 をインストールする方法
.NET Framework が入っている場合
「このハードウェアを開始できません」と表示された場合は[完了]をクリックします。
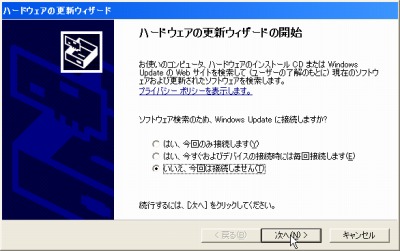
「ハードウェアの更新ウィザードの開始」が表示された場合は、[いいえ、今回は接続しません]を選択して[次へ]をクリックします。
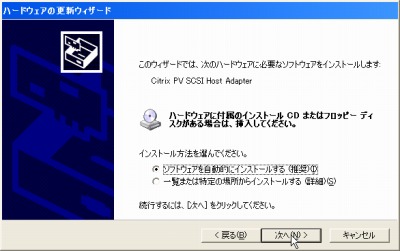
「このウィザードでは、次のハードウェアに必要なソフトウェアをインストールします」と表示された場合は、[ソフトウェアを自動的にインストール(推奨)]を選択し、[次へ]をクリックします。
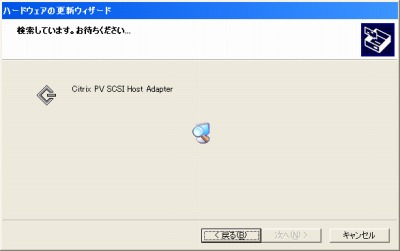
(デバイス ドライバが検索されるまで待ちます)
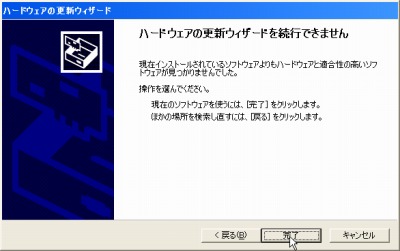
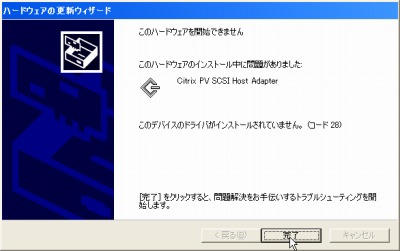
「ハードウェアの更新ウィザードを続行できません」と表示された場合は、[完了]をクリックします。
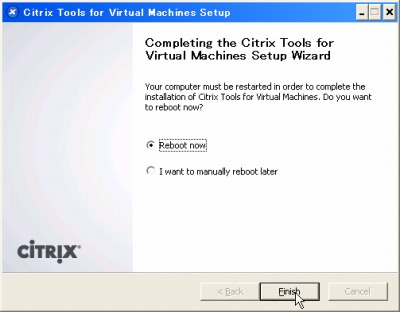
ゲストシステムを再起動しますので、[Reboot now]を選択し[Finish]をクリックします。
注意
- 本操作例中のゲスト OS は Windows XP SP3 32bit です
- 本操作例は、環境により異なりますので、詳しくはシステム管理者へお問い合わせください
スポンサードリンク