
遠隔地の端末やネットワーク上の別の端末などを遠隔操作 (リモート アクセス) する方法のうち、構築済みの VNC サーバーに RealVNC ビューワーを使って接続するため、VNC ビューワーをインストールする方法を記載します。
ダウンロード
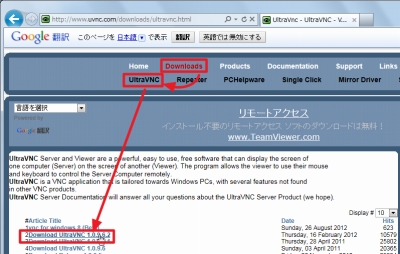
「UltraVnc – UltraVNC – VNC – Remote Support Software – Remote Desktop Control – VNC – Free – OpenSource」から「Download UltraVNC 1.0.9.6.2」をダウンロードします。
※ダウンロードするバージョンは適宜選択してください
32bit 版や64bit 版など幾つか種類がありますので、お使いの環境に合致するものを選択してください。
お使いの環境が 64 ビット環境 (x64) か 32 ビット環境 (x86) か不明な場合は、次のサポート記事をご参照ください:
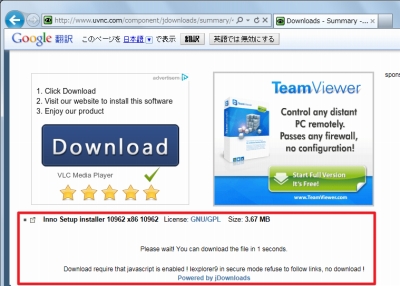
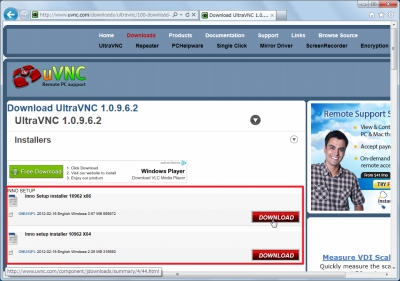
ダウンロード ファイルを選択すると、数秒待たされますので待ちます。

数秒経過すると、ダウンロード可能になりますので、チェックボックスにチェックを入れ、[Download]をクリックします。
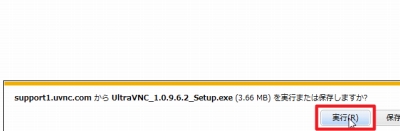
[実行]をクリックします。
Windows Defender の警告が表示されたら
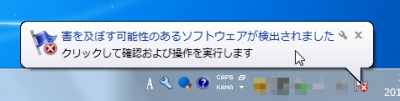
「害を及ぼす可能性のあるソフトウェアが検出されました」と表示されたら、[クリック]します。
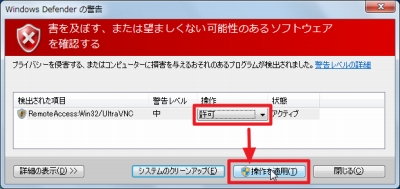
Windows Defender の警告が表示されますので、[操作]欄を操作し、[許可]を選択し、[操作を適用]をクリックします。
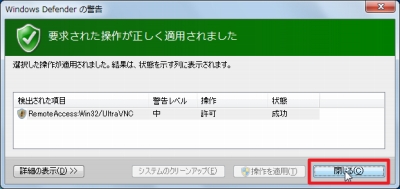
「選択された操作が正しく適用されました」と表示されたら、[閉じる]をクリックします。
インストール
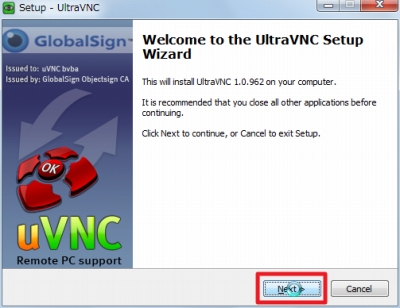
インストーラーが起動したら、[Next]をクリックします。
使用許諾契約への同意
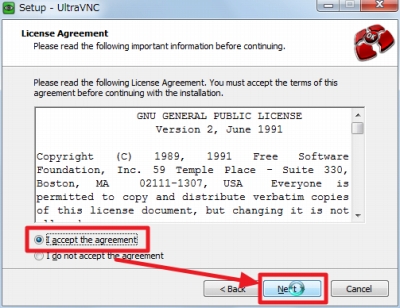
ライセンスに同意できる場合は、[I accept the agreement]を選択し、[Next]をクリックします。
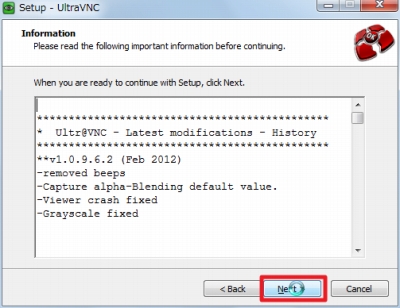
[Next]をクリックします。
インストール先の指定
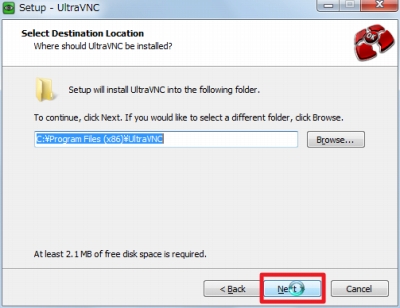
[Next]をクリックします。
コンポーネントの選択
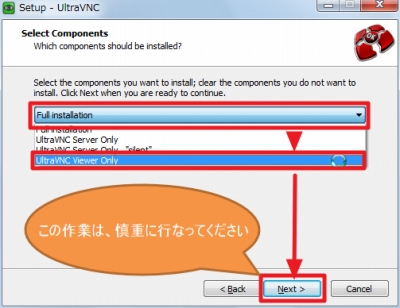
コンポーネントの選択では、[UltraVNC Viewer Only]を選択し、[Next]をクリックします。
プログラムグループの指定
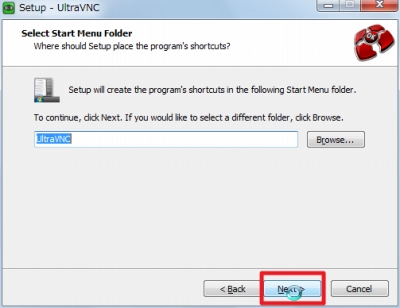
[Next]をクリックします。
オプションの選択
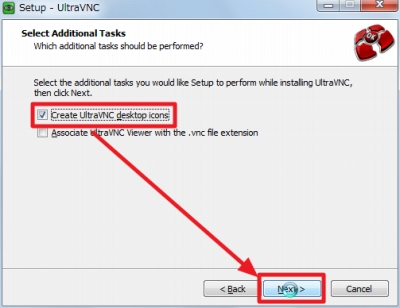
[Create UltraVNC desktop icons]にチェックを入れ、[Next]をクリックします。
インストールの実行
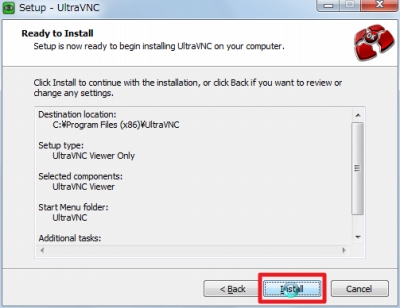
[Install]をクリックします。
リリース ノートの確認
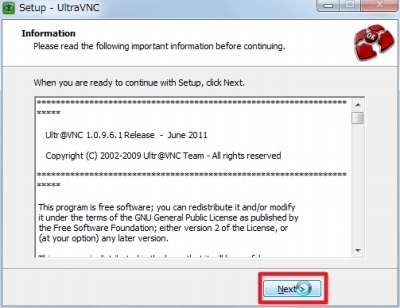
[Next]をクリックします。
インストールの完了
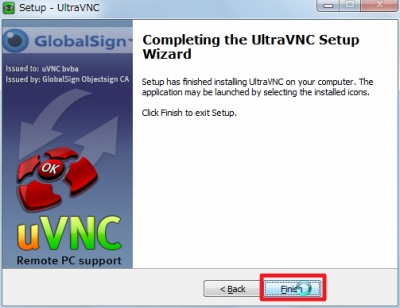
[Finish]をクリックします。
使い方
インストールした VNC ビューワーを使って、構築済みの VNC サーバーに接続する場合は、次のサポート記事をご参照ください:
関連
様々な方法でリモート操作する方法については、次のサポート記事をご参照ください:
注意
- 本操作例は、Windows 7 SP1 64 bit のものです
スポンサードリンク
コメント
UltraVNC をインストールする方法 « SEECK.JP サポート http://t.co/bHMbqHMj0x #miteru