プリンターなどの周辺機器を動作させるためには、適切なデバイス ドライバをインストールする必要があります。
周辺機器によっては接続前に必要なソフトウェアをインストールしておくものや、接続するだけで自動的に使用可能になるもの、予めドライバを用意しておくものなどがあります。
本記事では、Windows XP がインストールされているパソコンに、EPSON 製プリンター PM-G860 を接続し、予め用意しておいたインストーラーを使ってインストールする例を記載します。
プリンタ ドライバをインストールする方法
ダウンロード
この例では EPSON 社製インクジェット プリンター PM-G860 をインストールします。

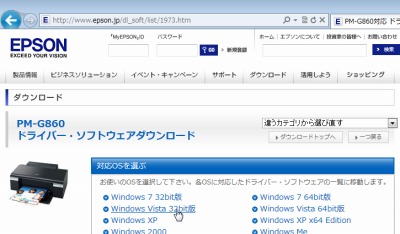
製造元ウェブサイト (ダウンロード | エプソン) にアクセスし、最新の PM-G860 用ドライバを探します。
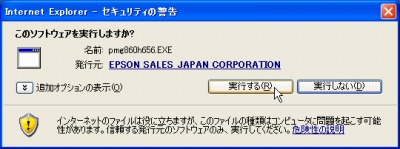
必要なファイルが見つかったら[実行]します。
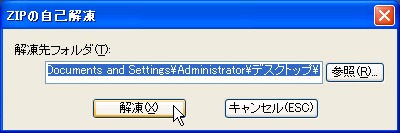
ダウンロードが完了したら、[解凍]を行います。
インストール

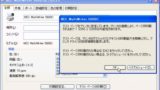
「インストールを開始しますか?」と表示されたら[はい]をクリックします。
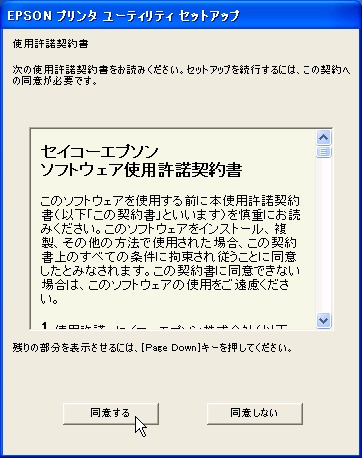
使用許諾契約が表示されますので、同意できる場合は[同意する]をクリックします。
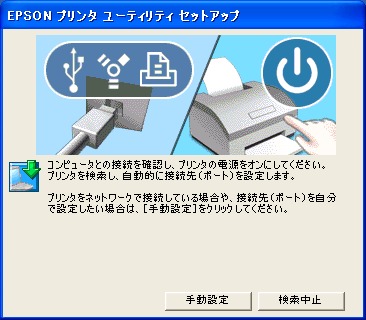
「プリンタの電源をオンにしてください」と表示されたら、接続済みのプリンターの電源を投入します。
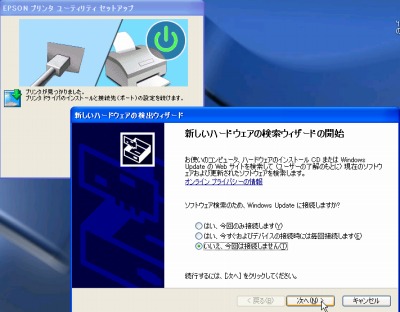
「新しいハードウェアの検索ウィザードの開始」が表示されたら、[いいえ、今回は接続しません]を選択し、[次へ]をクリックします。
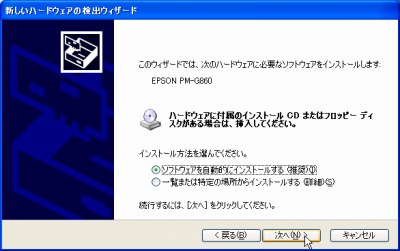
[ソフトウェアを自動的にインストールする (推奨)]を選択し、[次へ]をクリックします。
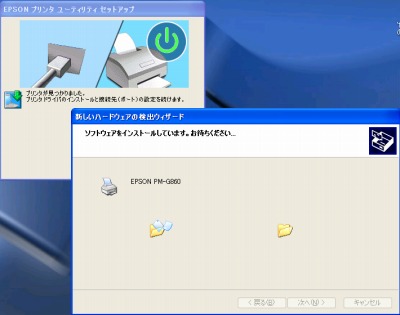
ドライバがインストールされますので、完了するまで待ちます。
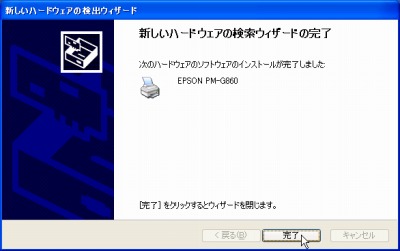
「新しいハードウェアの検索ウィザードの完了」が表示されたら、[完了]をクリックします。
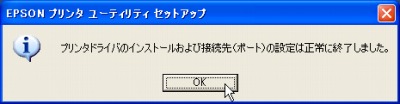
「プリンタ ドライバのインストールおよび接続先 (ポート) の設定は正常に終了しました」と表示されたら、[OK]をクリックします。
確認
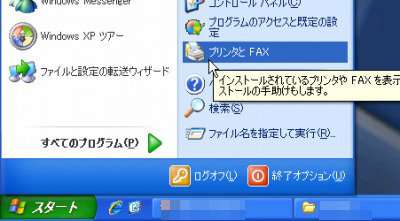
[スタート]-[プリンタとFAX]を開きます。
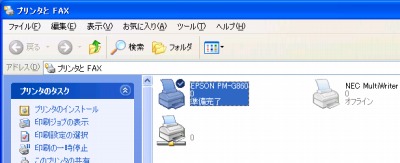
インストールしたプリンタが追加されているか確認します。正常に動作するかテストする場合は、次のサポート記事をご参照ください:
注意
- 本操作例は、Windows XP 64bit のものです
スポンサードリンク