
ノートン アンチウイルスが何らかの問題により、正しく動作しなくなってしまった場合には、一度アンインストールしてから、再度インストールすることで問題を解決できることがあります。
ここでは、ノートン アンチウイルスを削除する方法を記載します。
以下のサポート記事も合わせてご参照ください
Norton AntiVirus2012 をアンインストールする方法

[スタート]ボタンをクリックし、[コントロール パネル]をクリックします。
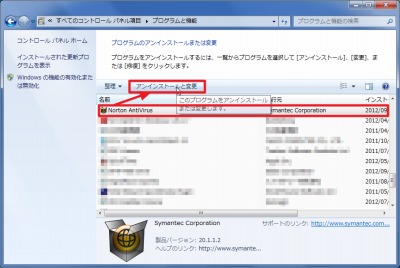
一覧から「Norton AntiVirus」を選択し、[アンインストールと変更]をクリックします。

(アンインストールの準備が整うまで待ちます)
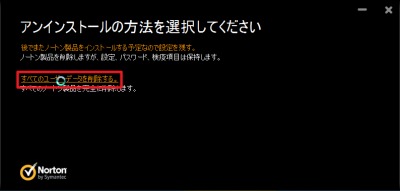
[すべてのユーザのデータを削除する]をクリックします。
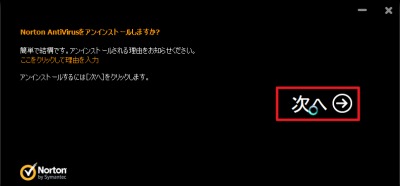
[次へ]をクリックします。

(アンインストールの準備整うまで待ちます)
(ファイルの削除が完了するまで待ちます)
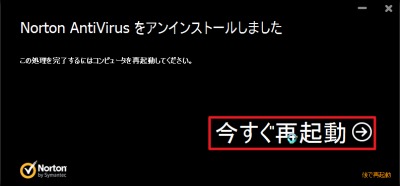
[今すぐ再起動]をクリックします。
再起動が完了したら、改めてノートン アンチウイルスをインストールします。インストールについては、次のサポート記事をご参照ください:
→ [Norton] Norton AntiVirus2012 をインストールする方法(Ver.20)
注意
- 本操作例は、Windows 7 SP1 64 bit のものです
スポンサードリンク