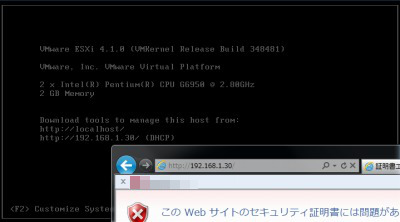
VMware vSphere Hypervisor (ESXi) 4.1 をインストールした際に表示された情報(サーバーIP アドレス)のメモをもとに、VMware vSphere Client 4.1 をインストールします(この例では「192.168.1.30」)。
VMware vSphere Client 4.1 をインストールする方法
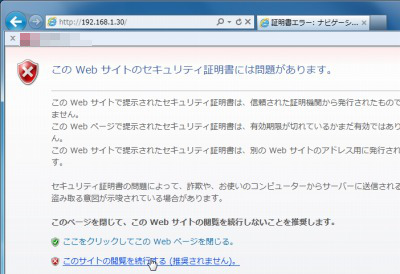
セキュリティ警告
メモしたIP アドレスにウェブブラウザからアクセスします。
例:http://192.168.1.30/
「このWeb サイトのセキュリティ証明書には問題があります」と表示されますが、「このサイトの閲覧を続行する(推奨されません)」をクリックします(Internet Explorer 9 の場合の例)。
ダウンロード
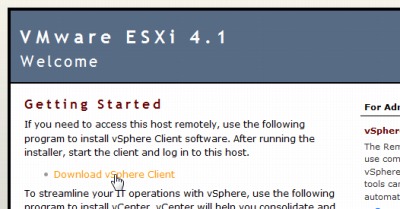
表示されたページ中の「Download vSphere Client」をクリックしてダウンロードを開始します。
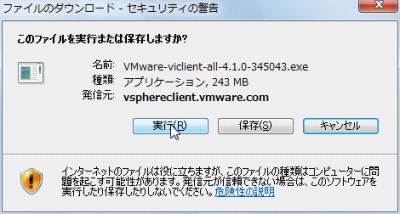
[実行]をクリックします(Internet Explorer 8 の例)。
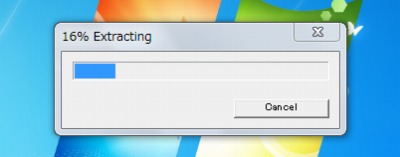
(ファイルの展開が開始されます。完了するまで待ちます)
インストール

セットアップ言語を選択して[OK]をクリックします。
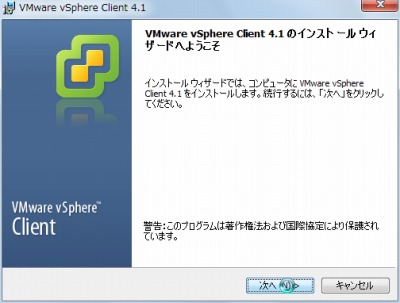
「VMware vSphere Client 4.1 のインストールウィザードへようこそ」と表示されますので、[次へ]をクリックします。
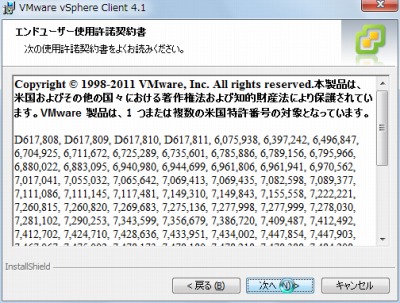
「エンドユーザー使用許諾契約書」が表示されますので、内容を確認して[次へ]をクリックします。
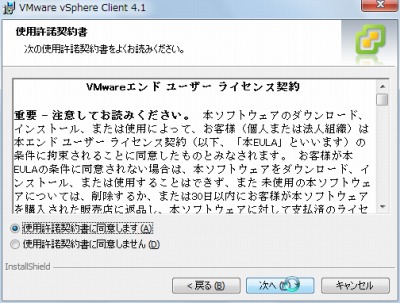
「使用許諾契約書」が表示されますので、同意できる場合は[使用許諾契約書に同意します]を選択し、[次へ]をクリックします。

ユーザー情報を入力し、[次へ]をクリックします。
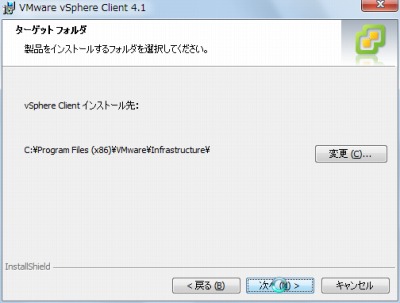
[次へ]をクリックします。
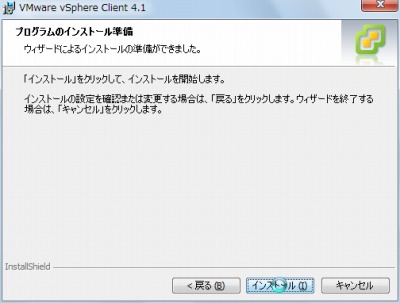
[インストール]をクリックします。
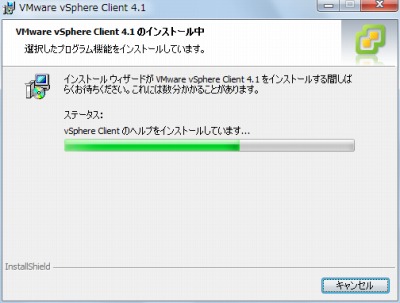
(インストールが完了するまで待ちます)
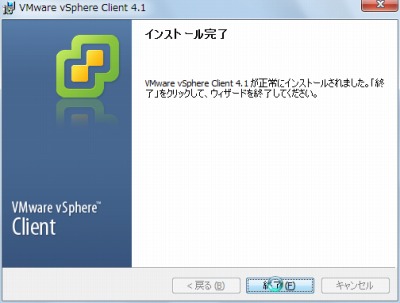
「インストール完了」と表示されますので、[終了]をクリックします。
注意
- 本操作例は VMware vSphere Client 4.1 を Windows 7 SP1 64bit にインストールするものです
スポンサードリンク