FreeBSD は、主要な基幹システムで用いられることも多く高負荷に強いと言われているOS です。
この例では、FreeBSD をインストールする手順を記載します。
ダウンロード
以下よりダウンロードします:
- FreeBSD を入手する
http://www.freebsd.org/ja/where.html - Index of /pub/FreeBSD-Archive/old-releases/ISO-IMAGES/9.3/
http://ftp-archive.freebsd.org/pub/FreeBSD-Archive/old-releases/ISO-IMAGES/9.3/
※この例では、「FreeBSD-9.0-RELEASE-i386-dvd1.iso」をダウンロードしました
インストール
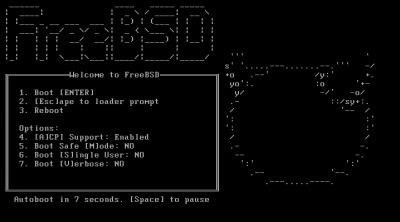
インストール・ディスクから起動します。
インストーラーの起動
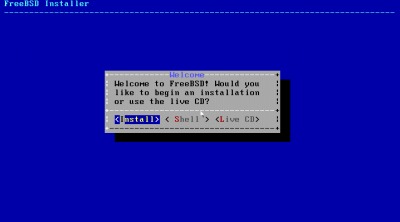
「Welcome to FreeBSD! Would you like to begin an installation or use the live CD? 」と表示されますので、[Install]を選択します。
キーマップの設定

「Would you like to set a non-default key mapping for your keyboard?」と表示されますので[Yes]を選択します。
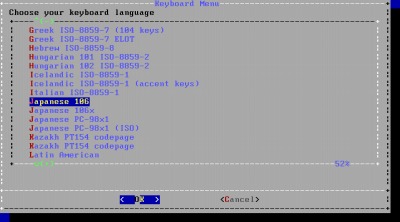
「Choose your keyboard language」と表示されますので、任意のキーボードを選択します。
この例では、「Japanese 106」を選択しました。
ホスト名の設定
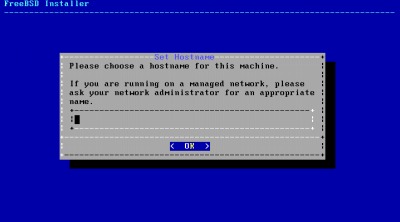
「Please choose a hostname for dhs machine.」と表示されますので、ホスト名を設定します。
コンポーネントの選択
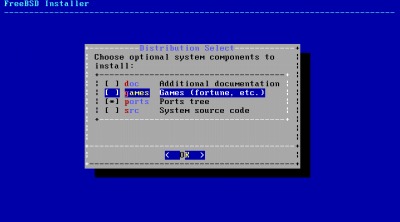
「Choose optional system components to install」と表示されますので、インストールするコンポーネントを選択します。
この例では、「games」の選択を外しました。
パーティショニング
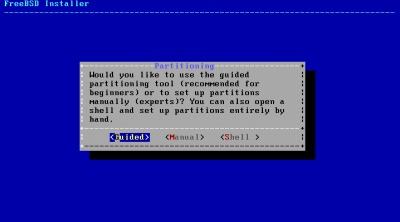
「Would you like to use the guided partitioning tool (recommended for beginners ) or t set up partitions manually ( experts )?」と表示されますので、[Guided]を選択します。
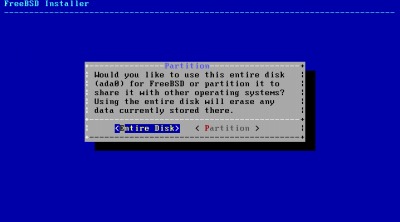
「Would you like to use this entire disk (ada0) for FreeBSD or partition it to share it with other operating systems?」と表示されますので、[Entire Disk]を選択します。
※この例では、新規環境へのインストールを行なっています
※環境によりada0 などは表示が異なることがあります
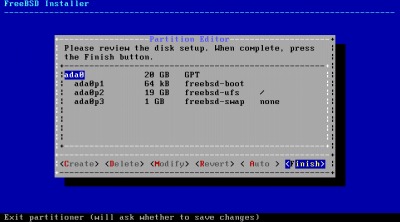
「Please reviw the disk setup. When complete, press the Finish button.」と表示されますので、[Finish]を選択します。
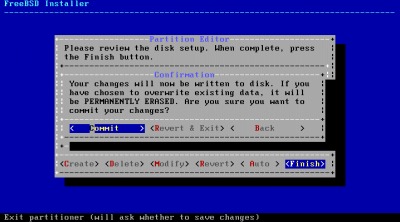
「Your changes will now be written dot disk. 」と表示されますので、[Commit]を選択します。
Archive Extraction
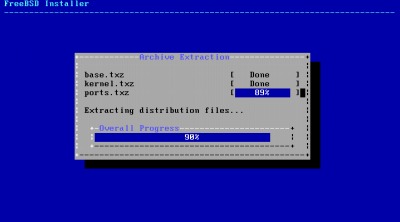
Archive Extraction が行われますので、しばらく待ちます。
パスワード設定
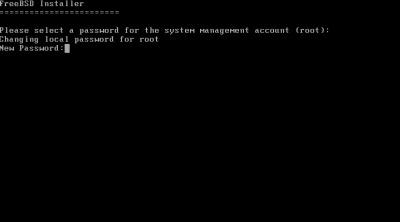
「Please select a password for the system management account (root)」と表示されますので、root パスワードを設定します。
ネットワーク設定
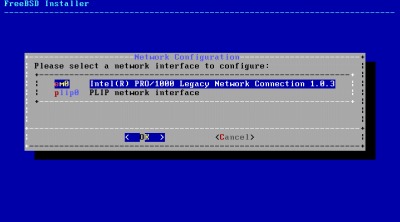
「Please select a network interface to configure」を表示されますので、任意のNIC (Network Interface Card)を選択します。
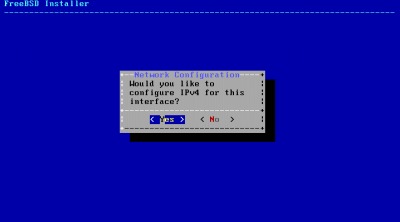
「Would you like to configure IPv4 for this interface?」と表示されますので、[Yes]を選択します。

「Would you like to configure DHCP for this interface?」と表示されますので、[Yes]を選択します。
※本番環境などの構築の場合は[No]を選択し、ネットワーク管理者から指示された設定を行います

「Would you like to configure IPv6 for this interface?」と表示されますので、[Yes]を選択します。
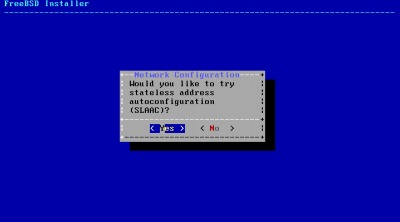
「Would you rike to try stateless address autoconfiguratin (SLAAC)?」と表示されますので、[Yes]を選択します。
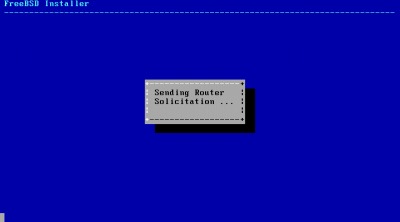
「Sending Router Solicitation …」と表示されますので、しばらく待ちます。

Resolver Configuration が表示されます。表示された内容でよければ[OK]を選択します。
タイムゾーン設定
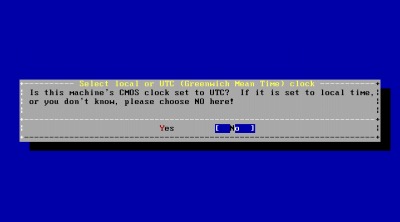
「Select local or UTC (Greenwich Mean Time) clock」と表示されますので、[No]を選択します。
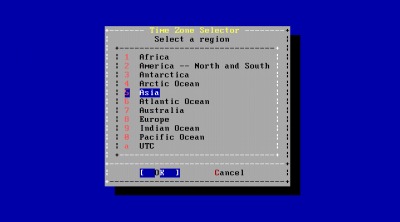
「Time Zone Selector」が表示されますので[Asia]を選択します。
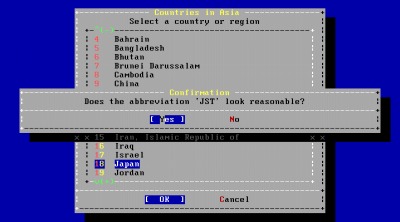
「Countries in Asia」が表示されますので、[Japan]を選択し、[OK]を選択します。
「Dose the abbreviation ‘JST’ look reasonable?」と表示されますので[Yes]を選択します。
自動起動サービスの選択
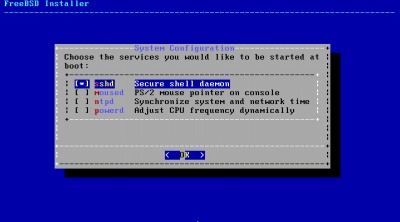
「Choose the services you would like to be started at boot」と表示されますので、必要な項目を選択します。
この例では、「sshd」のみ選択しました。
クラッシュダンプの設定
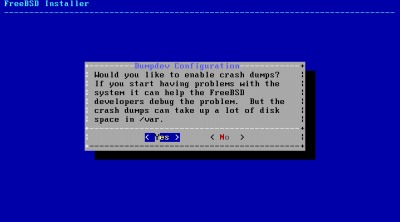
「Would you like to enable crash bumps?」と表示されますので、好みのものを選択します。
この例では、[Yes]を選択しました。
ユーザーの追加
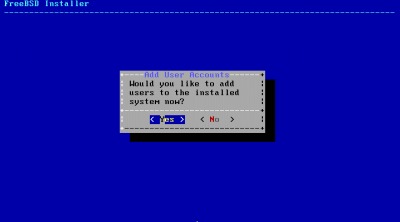
「Would you like to add users to the installed system now?」と表示されます。ユーザーを追加する場合には[Yes]を選択します。
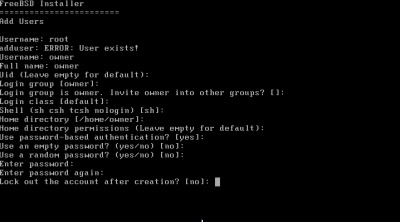
上記例では、ユーザー「owner」を作成しています。
最終設定
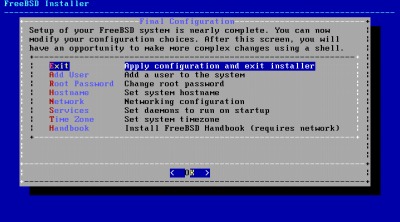
「Final Configuration」が表示されます。これまでの内容でインストールする場合は[Exit]を選択し、その他の設定を行う場合は、設定を行いたい項目を選択して設定を行います。
手動設定
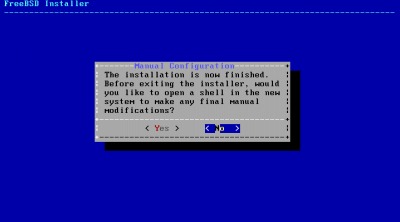
「Manual Configuration」が表示されますので[No]を選択します。(必要がある場合は[Yes]を選択して作業をおこなってください)
再起動
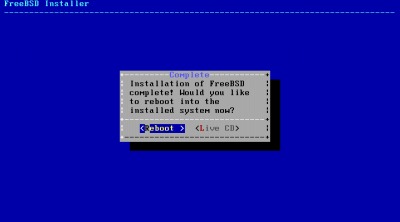
「Instllation of FreeBSD complete!」と表示されますので[Reboot]を選択して再起動します。
初回起動
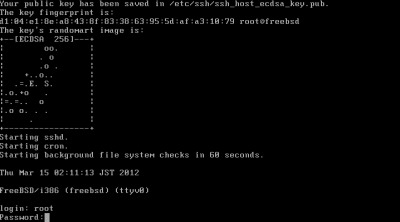
初回起動時には、ssh に必要な鍵が作成されるなどが行われます。
ログインとシャットダウン
ログイン
「login:」と表示されたら続いてログインするユーザー名を入力し、[Enter]を押します。
続いて「Password:」と表示されますので、設定したパスワードを入力して[Enter]を押します。
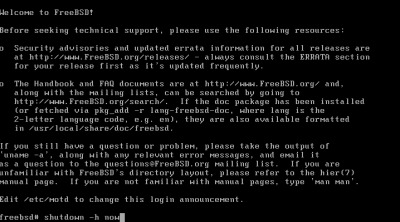
ログインに成功すると「Welcome to FreeBSD!」が表示されます。
シャットダウン
システムを停止するには次のコマンドを入力し、[Enter]キーを押します。
# shutdown -h now
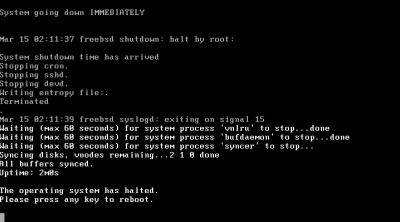
「The operating system has halted. Please press any key to reboot.」と表示されたらシステムは停止しました。また、何かキーを押すと再起動が行われます。
注意
- 本操作例はFreeBSD-9.0-RELEASE-i386 のものです
- 2024/11/19 リンク切れを修正、ただし FreeBSD 9.3
スポンサードリンク