Ubuntu 18.04 LTS Server をインストールする方法です。この例では、LVM を使わず、最小インストールします。
はじめる前に
本記事とは別のインストール方法もあります:
ダウンロード
Ubuntu 公式サイトから必要なファイルをダウンロードします。
- Ubuntu 18.04.1 LTS (Bionic Beaver)
http://cdimage.ubuntu.com/releases/18.04/release/
この例では、「ubuntu-18.04-server-amd64.iso」(704 MB) をダウンロードしました。
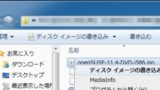
インストール メディアの作成
ISO イメージファイル等を DVD や USB メモリーに書き込む方法については、次のサポート記事をご参照ください:
インストール
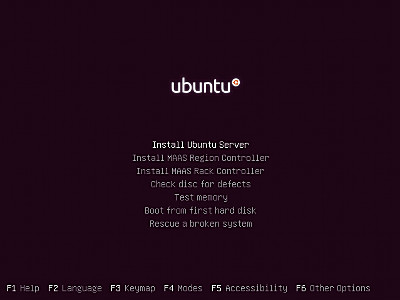
作成したインストール メディアなどからインストーラーを起動します。
インストール設定
言語選択
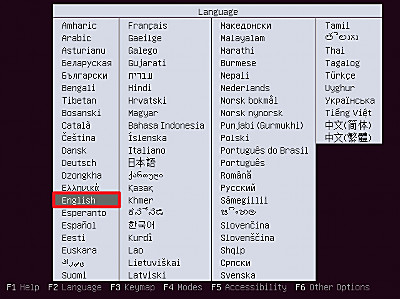
言語を選択します。
この例では、[English]を選択します。
インストール オプション設定
このままインストールすることもできますが、この例では、さらにオプションを設定してからインストールを行います。
キーマップ選択
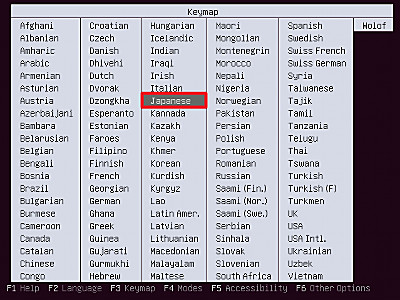
[F3]キーを押し、キーマップを選択します。
この例では、[Japanese]を選択します。
モード選択
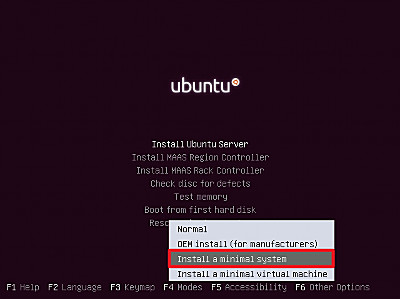
[F4]キーを押し、モードを選択します。
この例では、[Install a minimal system]を選択します。
インストールの開始
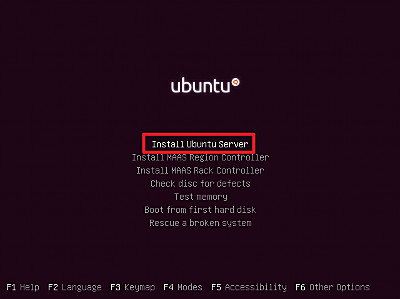
[Install Ubuntu Server]を選択してインストーラーを実行します。
言語の選択
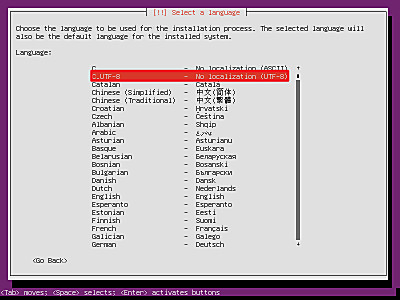
言語を選択します。
この例では、[C.UTF-8 – No localization (UTF-8)]を選択します。
国や地域の選択
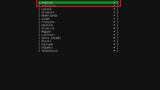
リージョンの選択

リージョンを選択します。
この例では、[Asia]を選択します。
国や地域の選択
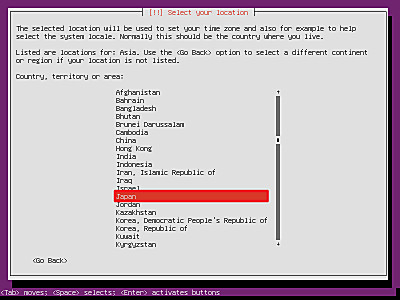
国や地域を選択します。
この例では、[Japan]を選択します。
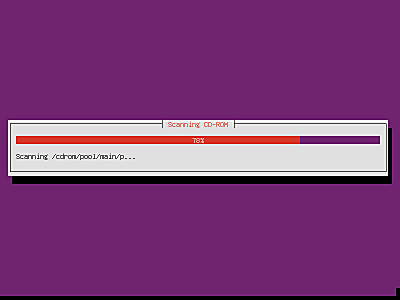
処理が完了するまで待ちます。
ホスト名の設定
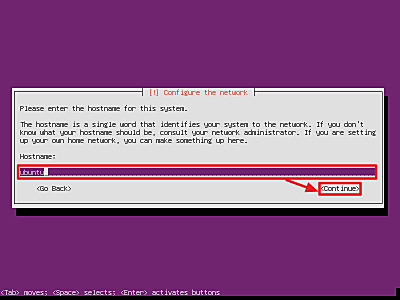
ホスト名を設定します。
任意のホスト名を入力し、[Continue]を押します。
ユーザーの作成
フルネームの入力
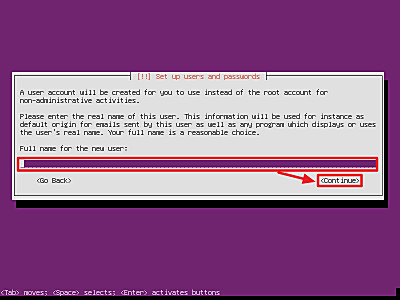
作成するユーザーのフルネームを入力し、 [Continue]を押します。
ユーザー名の入力
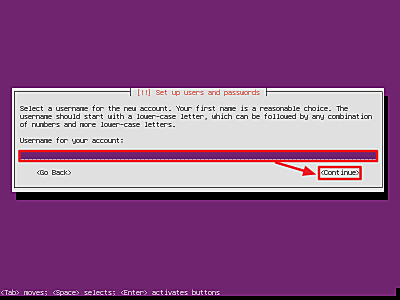
ユーザー名を入力し、[Continue]を押します。
パスワードの入力
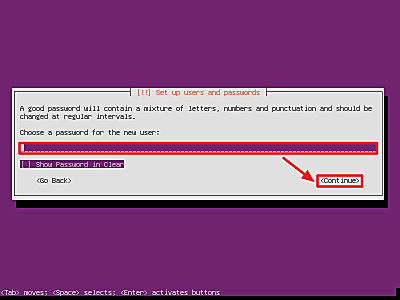
ユーザーのパスワードを設定します。
任意のパスワードを入力し、[Continue]を押します。
パスワードの再入力
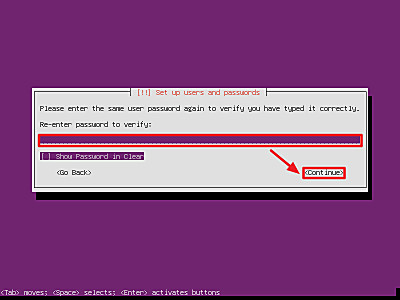
ユーザーのパスワードを再入力し、[Continue]を押します。
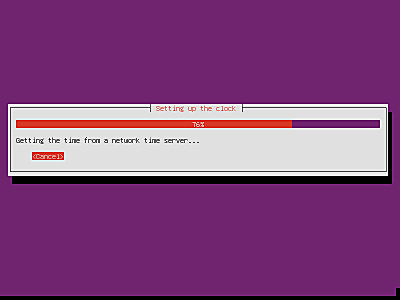
処理が完了するまで待ちます。
タイムゾーンの確認
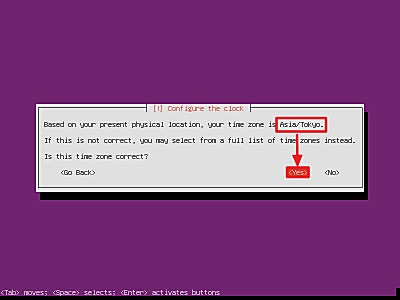
表示されるタイムゾーンを確認し、正しければ[Yes]を押します。
インストール先の設定
パーティショニング メソッドの選択
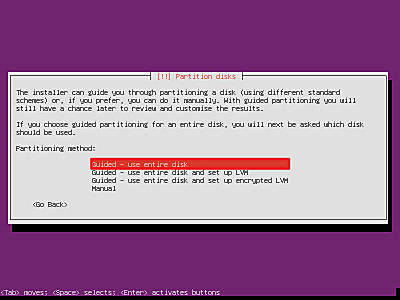
パーティショニング メソッドを選択します。
この例では、[Guided – use entire disk]を選択します。
選択できる項目は次の通りです:
- Guided – use entire disk
- Guided – use entire disk and set up LVM
- Guided – use entire disk and set up encrypted LVM
- Manual
ディスクの選択
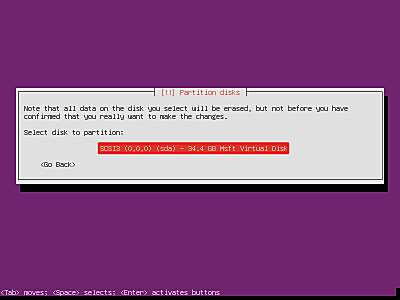
インストール先のディスクを選択します。
この例では、システムに接続された唯一のディスクを選択します。
ディスクへ変更の適用
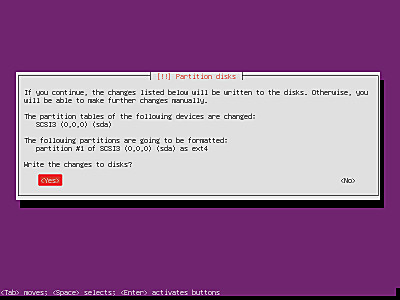
設定内容をディスクに適用しますので、表示される内容を確認し、よければ[Yes]を押します。

処理が完了するまで待ちます。
プロキシサーバーの設定
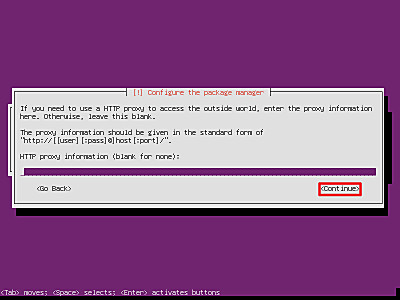
プロキシサーバーを必要とする環境の場合は、入力します。
この例では、プロキシサーバーを必要としないため、空欄のまま[Continue]を押します。
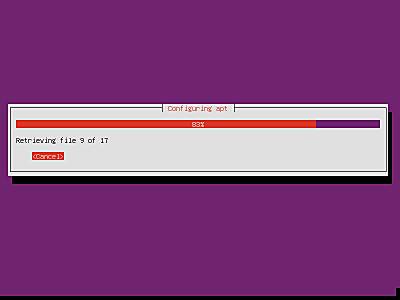
処理が完了するまで待ちます。
アップデート設定

アップデートに関する設定を行います。
この例では、[Install security updates automatically]を選択します。
選択できる項目は次の通りです:
- No automatic updates
- Install security updates automatically
- Manage system with Landscape

処理が完了するまで待ちます。
ソフトウェアの選択
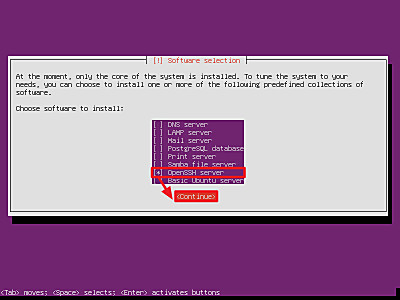
インストールするソフトウェアを選択します。
この例では、[OpenSSH server]のみ選択し、[Continue]を押します。
選択できるソフトウェアは次の通りです:
- DNS server
- LAMP server
- Mail server
- PostgreSQL database
- Print server
- Samba server
- OpenSSH server
- Basic Ubuntu server

処理が完了するまで待ちます。
ブートローダーのインストール
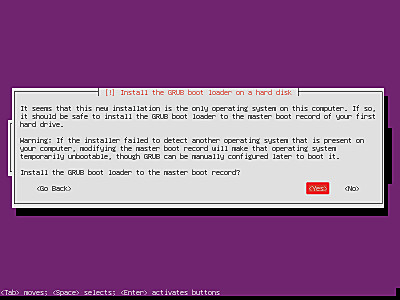
ブートローダーをインストールするか選択します。
この例では、ブートローダーをインストールするため、[Yes]を押します。
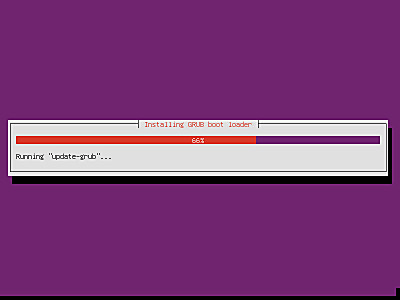
処理が完了するまで待ちます。
再起動
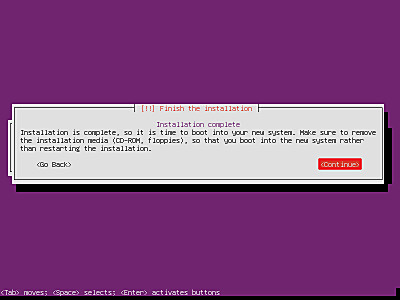
インストールが完了したら、[Continue]を押します。
インストール完了
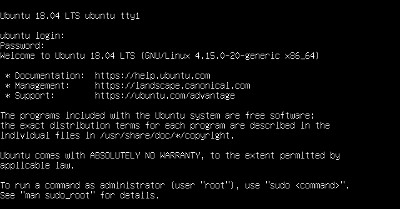
作成したユーザー名とパスワードでログインします。
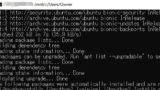
アップデート
アップデートを行うには、以下のコマンドを実行します:
$ sudo apt update && sudo apt upgrade
(参考) apt-select を使用して高速ミラーサーバーを設定する方法については、次のサポート記事をご参照ください:
電源を切る方法
電源を切るには、次のコマンドを実行します:
sudo shutdown -h now
参考
df -Th の実行例:
$ df -Th
 Filesystem     Type      Size  Used Avail Use% Mounted on
 udev           devtmpfs  927M     0  927M   0% /dev
 tmpfs          tmpfs     191M  572K  191M   1% /run
 /dev/sda1      ext4       32G  2.9G   27G  10% /
 tmpfs          tmpfs     953M     0  953M   0% /dev/shm
 tmpfs          tmpfs     5.0M     0  5.0M   0% /run/lock
 tmpfs          tmpfs     953M     0  953M   0% /sys/fs/cgroup
 tmpfs          tmpfs     191M     0  191M   0% /run/user/1000
sudo fdisk -l の実行例:
$ sudo fdisk -l
 Disk /dev/sda: 32 GiB, 34359738368 bytes, 67108864 sectors
 Units: sectors of 1 * 512 = 512 bytes
 Sector size (logical/physical): 512 bytes / 4096 bytes
 I/O size (minimum/optimal): 4096 bytes / 4096 bytes
 Disklabel type: dos
 Disk identifier: 0x4a1864ad
 Device     Boot Start      End  Sectors Size Id Type
 /dev/sda1  *     2048 67106815 67104768  32G 83 Linux
関連
様々な OS のインストール方法については、次のサポート記事をご参照ください:

注意
- 本操作例は、 Ubuntu 18.04 LTS Server のものです
- 本作業の参考作業時間は、20 分です
スポンサードリンク