
Oracle VM VirtualBox をインストールする方法です。
ダウンロード
以下よりダウンロードします:
- Oracle VM VirtualBox
https://www.virtualbox.org/
※この例では「VirtualBox-6.1.4-136177-Win.exe」(107 MB) をダウンロードしました
インストール
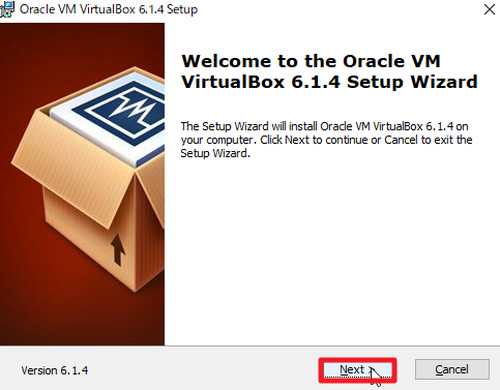
「Welcome to the Oracle VM VirtualBox 6.1.x Setup Wizard」が表示されたら[Next]をクリックします。

「Click on the icons in the tree below to change the way features will be installed.」が表示されたら[Next]をクリックします。
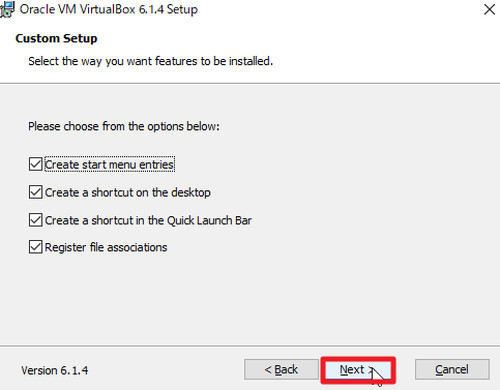
「Please choose from the options below:」が表示されたら[Next]をクリックします。
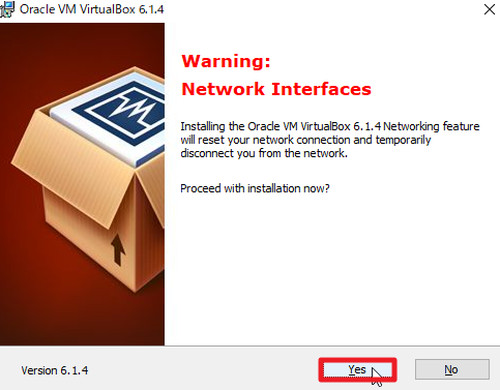
「Warning: Network Interfaces」が表示されたら[Yes]をクリックします。
※一時的にネットワークが切断されます
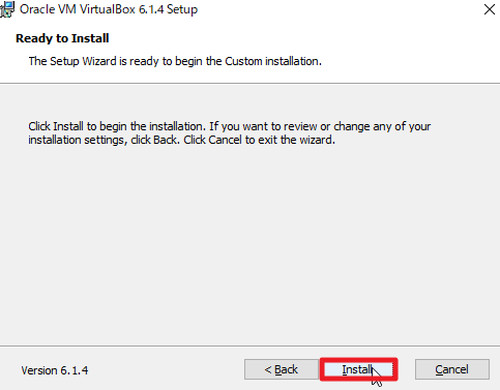
「Ready to Install」が表示されたら[Install]をクリックします。
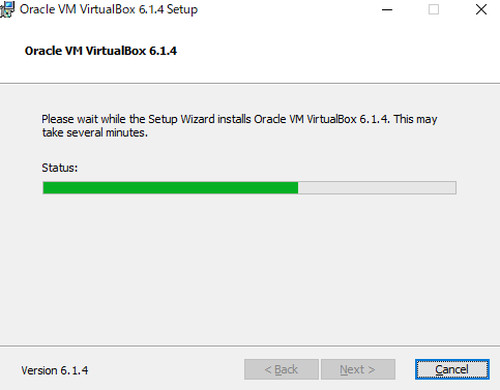
インストールが完了するまで待ちます。
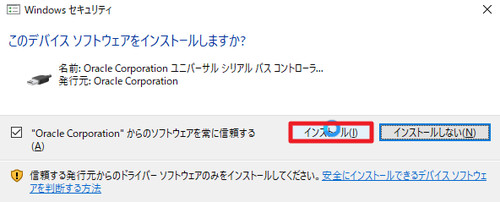
「このデバイス ソフトウェアをインストールしますか? Oracle Corporation ユニバーサル シリアル バス コントローラー」が表示されたら[インストール]をクリックします。
※「Oracle Corporation からのソフトウェアを常に信頼する」にチェックを入れると、初回のみ表示されます
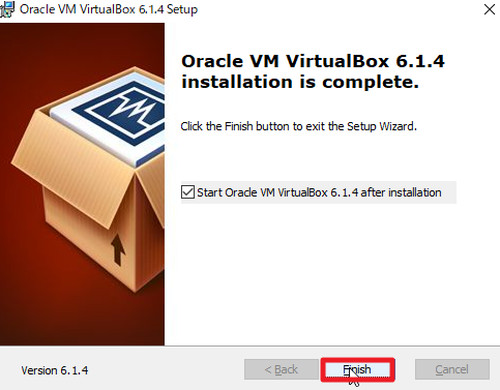
「Oracle VM VirtualBox 6.1.4 installation is complete.」が表示されます[Finish]をクリックします。
機能拡張のインストール
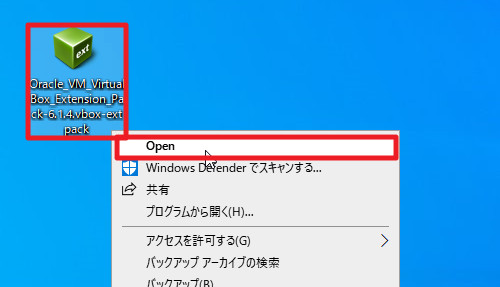
引き続き機能拡張をインストールする場合は、「Oracle_VM_VirtualBox_Extension_Pack-6.1.4.vbox-extpack」を開いてインストールまたは VirtualBox を操作して機能拡張を追加します。
起動のしかた
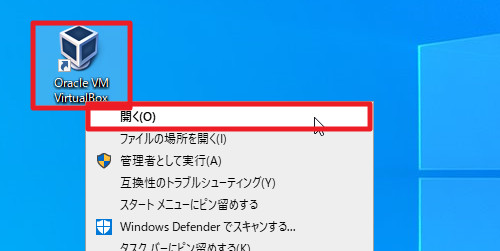
デスクトップに作成された「Oracle VM VirtualBox」をダブルクリックするか右クリックして[開く]をクリックして起動します。
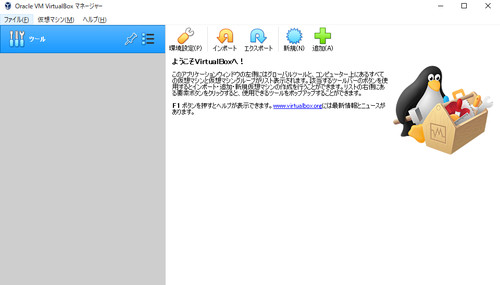
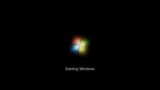
Oracle VM VirtualBox が起動したところ。
仮想マシンを作成する
仮想マシンを作成する方法については、次のサポート記事をご参照ください:
Guest Additions をインストールする
Oracle VM VirtualBox Guest Additions をインストールする方法については、次のサポート記事をご参照ください:
参考
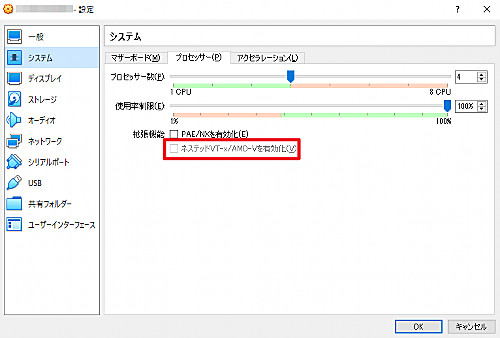
AMD-V と Intel VT-x で Nested VM サポートをしており、第 5 世代以降の Core i プロセッサーで使用可能とのことですが、対応している環境でも「ネステッド VT-x / AMD-V を有効化」にチェックができない場合があるようです。
- 第604回 VirtualBox 6.1の新機能:Ubuntu Weekly Recipe|gihyo.jp … 技術評論社
https://gihyo.jp/admin/serial/01/ubuntu-recipe/0604?page=2
- インテル® 製品の仕様情報
https://ark.intel.com/content/www/jp/ja/ark.html#@PanelLabel122139
- Intel Core – Wikipedia
https://ja.wikipedia.org/wiki/Intel_Core#Intel_Core_i
WHvCapabilityCodeHypervisorPresent is FALSE! Make sure you have enabled the 'Windows Hypervisor Platform' feature. (VERR_NEM_NOT_AVAILABLE).

VT-x is not available (VERR_VMX_NO_VMX).

終了コード : E_FAIL (0x80004005)
コンポーネント: ConsoleWrap
インターフェース: IConsole {872da645-4a9b-1727-bee2-5585105b9eed}
「仮想マシン プラットフォーム」や「Windows ハイパーバイザー プラットフォーム」については、次のサポート記事をご参照ください:
関連
VirtualBox で 64 bit が選択できない場合については、次のサポート記事をご参照ください:
様々な仮想化技術については、次のサポート記事をご参照ください:
様々な OS のインストール方法については、次のサポート記事をご参照ください:
注意
- 本操作例は、Windows 10 (Ver.1909) に Oracle VM VirtualBox Ver6.1 をインストールするものです
スポンサードリンク