AlmaLinux をインストールする方法です。 (Fedora Workstation や Rocky Linux も同様です)
AlmaLinux
AlmaLinux は、Red Hat Enterprise Linux (RHEL) をベースとする Linux ディストリビューションのひとつで、オープンソースで開発されています。Rocky Linux などとともに CentOS 後継問題により注目されたディストリビューションのひとつです。
ここでは AlmaLinux をインストールする方法を記載しますが、「Fedora Workstation」や「Rocky Linux」でも概ね同じ操作手順です。
ダウンロード
以下よりダウンロードします:
- https://mirrors.almalinux.org/isos.html
- https://mirrors.almalinux.org/isos/x86_64/8.7.html
- https://mirrors.almalinux.org/isos/x86_64/9.1.html
この例では、「AlmaLinux-9.1-x86_64-dvd.iso」をダウンロードしました。
(参考) Rocky Linux の場合は、以下より「Rocky-9.1-x86_64-dvd.iso」などをダウンロードします:
- Download Rocky | Rocky Linux
https://rockylinux.org/download - Index of /pub/rocky/9/isos/x86_64/
https://dl.rockylinux.org/pub/rocky/9/isos/x86_64/ - Index of /pub/rocky/9/live/x86_64/
https://dl.rockylinux.org/pub/rocky/9/live/x86_64/
(参考) Fedora Workstation の場合は、以下より「Fedora-Workstation-Live-x86_64-37-1.7.iso」などをダウンロードします:
- Fedora Workstation のダウンロード
https://getfedora.org/ja/workstation/download/ - Index of /Linux/fedora/releases/37/Workstation/x86_64/iso
https://ftp.riken.jp/Linux/fedora/releases/37/Workstation/x86_64/iso/
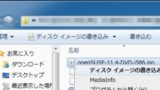
インストール メディアの作成
ISO イメージファイル等を DVD や USB メモリーに書き込む方法については、次のサポート記事をご参照ください:
インストール
インストール メディアから起動します。
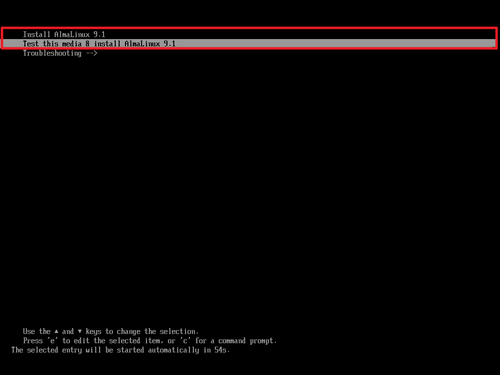
「Test this media & install AlmaLinux 9.1」または「Install AlmaLinux 9.1」を選択し、[Enter]キーを押します。
この例では、「Test this media & install AlmaLinux 9.1」を選択しました。
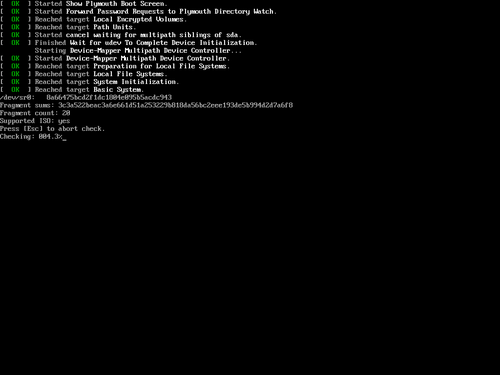
「Test this media & install AlmaLinux 9.1」を選択した場合は、メディアのチェックが行われますので、完了するまで待ちます。
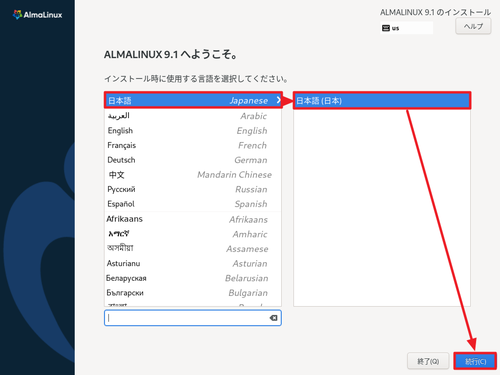
「ALMALINUX 9.1 へようこそ」と表示されたら、左側のリストから[日本語]を選択、右側のリストから[日本語 (日本)]を選択して[続行]をクリックします。
「インストール概要」が表示されたら三角の注意マークの付いている項目を設定します。
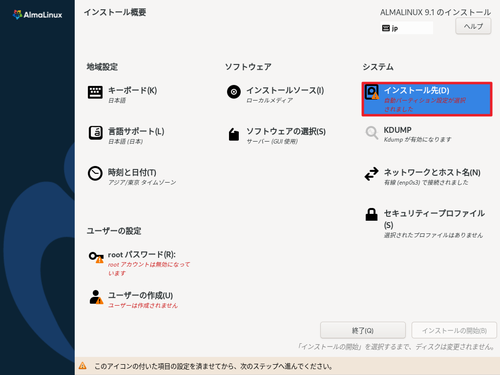
[インストール先]をクリックします。
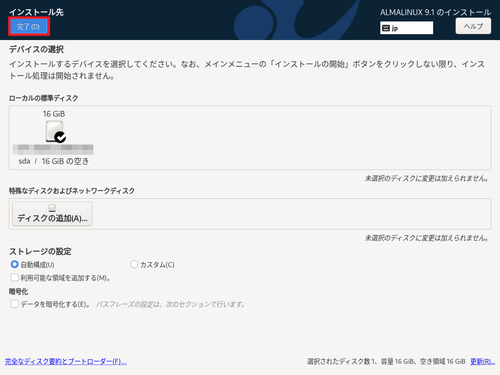
「デバイスの選択」が表示されたら、インストール先が正しいことを確認して[完了]をクリックします。
※本手順では、新規環境に AlmaLinux をインストールします。既存環境にインストールするとデータを失いますのでご注意ください。
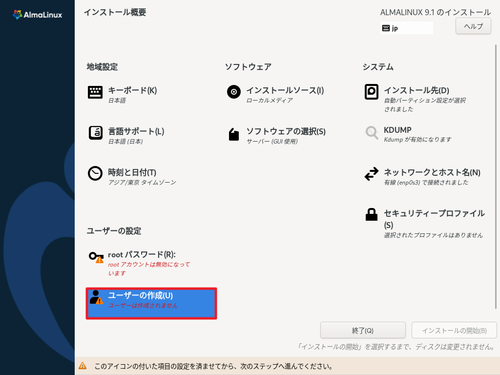
「ユーザーの設定」内の[ユーザーの作成]をクリックします。
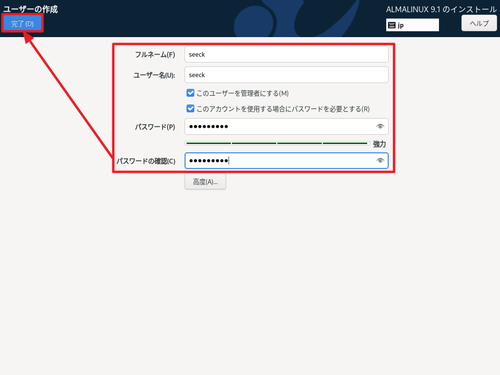
「ユーザーの作成」が表示されたら次の項目を入力して[完了]をクリックします。
- フルネーム
- ユーザー名
- パスワード
- パスワードの確認
※この際「このユーザを管理者にする」にチェックを入れておきます
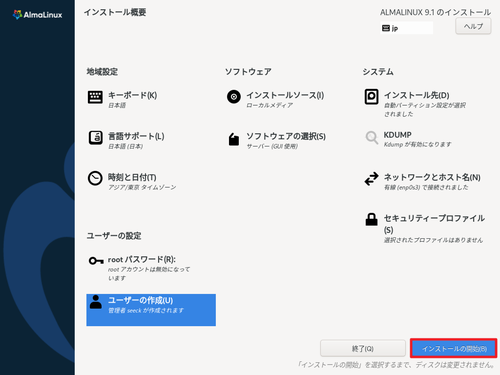
三角の注意マークがすべて消えたことを確認して[インストールの開始]をクリックします。
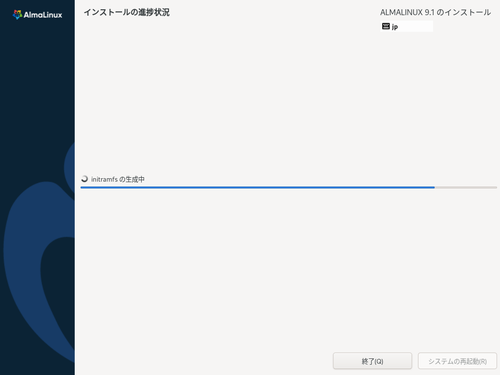
インストールが完了するまで待ちます。
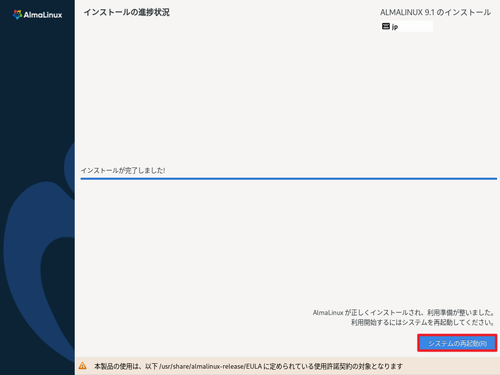
インストールが完了したら[システムの再起動]をクリックします。
初回起動
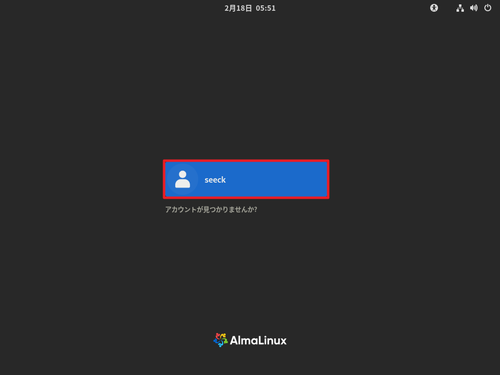
作成したユーザー名が表示されていることを確認したら[Enter]キーを押します。
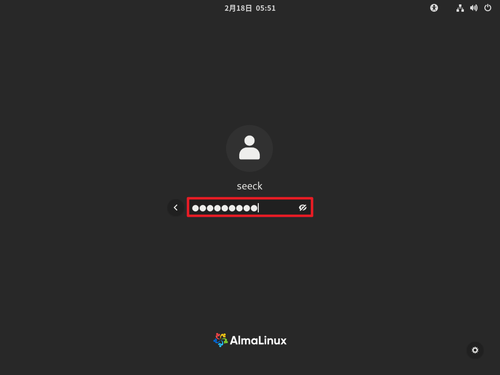
パスワード入力画面が表示されたら設定したパスワードを入力して[Enter]キーを押します。
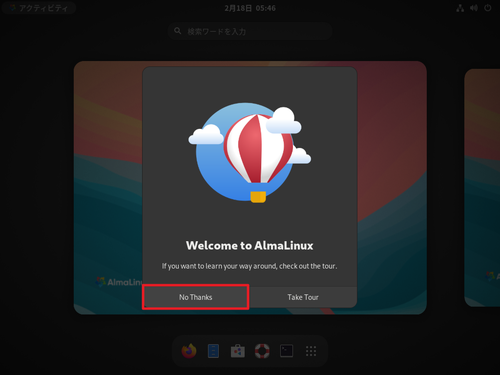
「Welcome to AlmaLinux」と表示されたら「No Thanks」または「Take Tour」のいずれかを選択します。
この例では、「No Thanks」をクリックしました。
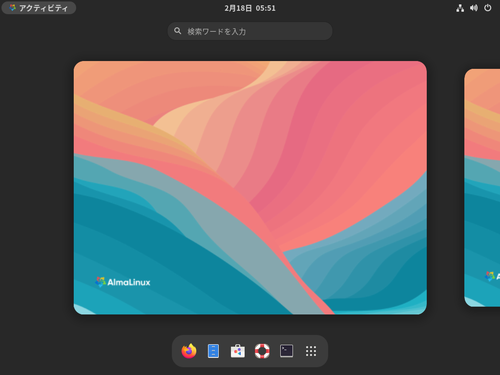
起動したところ。
アップデート

[ソフトウェア]をクリックします。
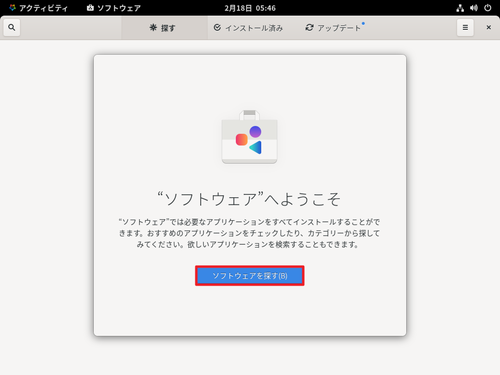
「”ソフトウェア”へようこそ」と表示されたら[ソフトウェアを探す]をクリックします。
アップデートがあるとき

[アップデート]をクリックし、[ダウンロード]をクリックします。

「再起動してアップデート」と表示されたら[再起動してアップデート]をクリックします。
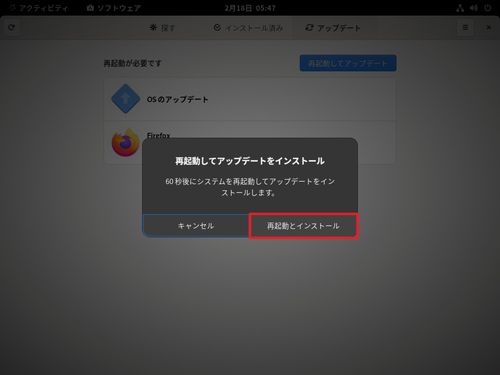
「再起動してアップデートをインストール」と表示されたら[再起動とインストール]をクリックします。
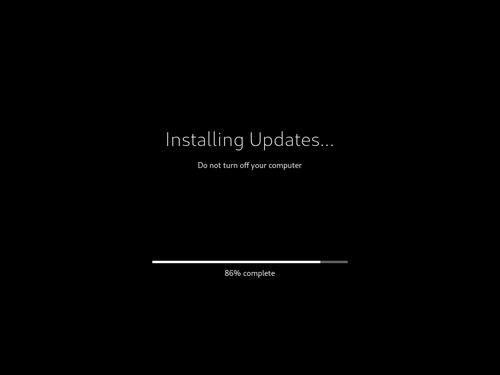
「Installing Updates…」などと表示され、再起動中にアップデートがインストールされますので、そのまま待ちます。
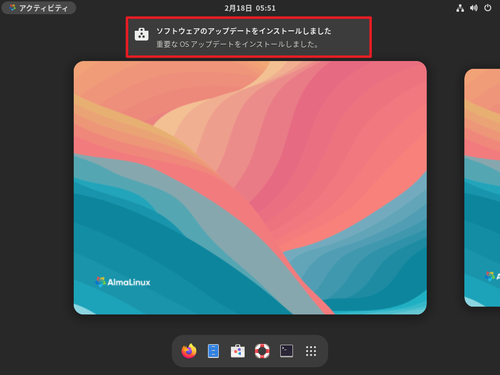
再起動後に「ソフトウェアのアップデートをインストールしました」と表示されます。
アップデートがないとき
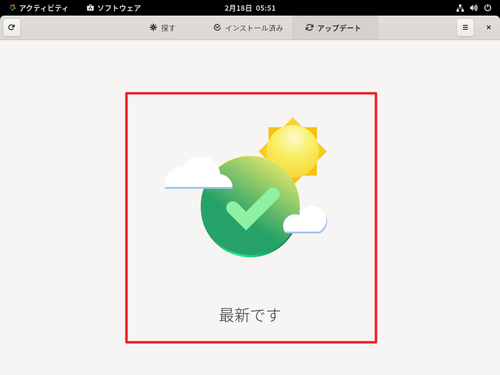
「最新です」と表示されたらアップデートはありません。
日本語入力設定
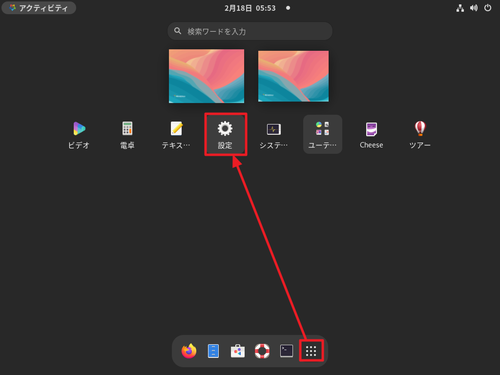
[*]をクリックし、[設定]をクリックします。
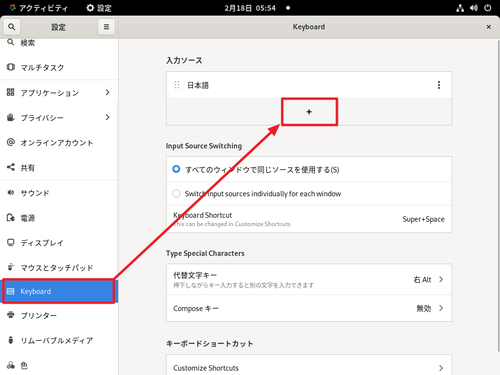
[Keyboard]をクリックし、[+]をクリックします。
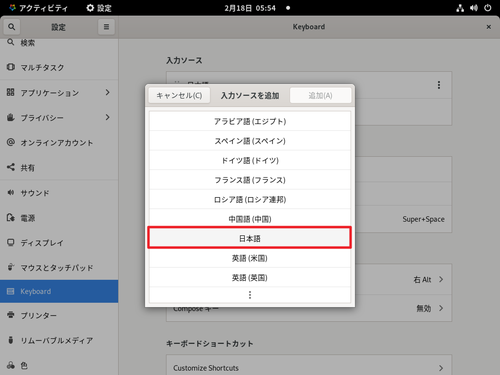
[日本語]をクリックします。
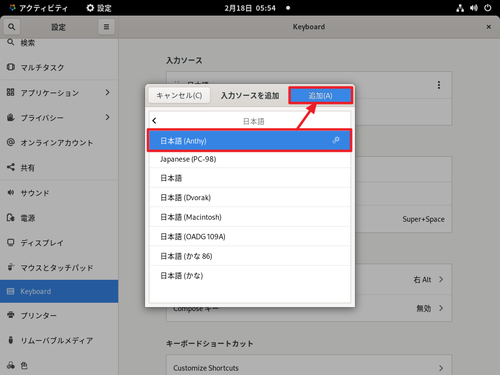
[日本語 (Anthy)]を選択して[追加]をクリックします。
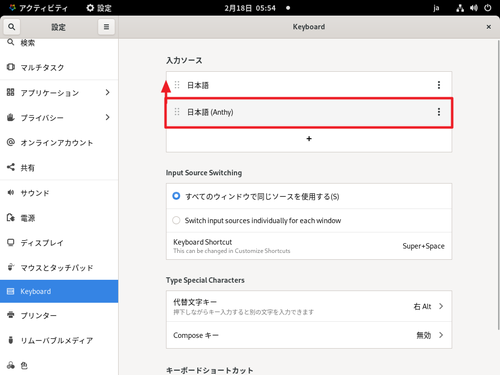
「日本語 (Anthy)」をドラッグ・アンド・ドロップして上位にします。
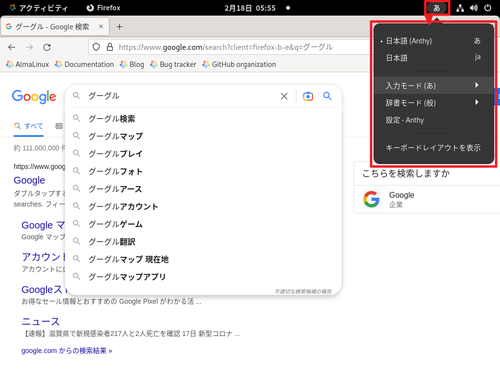
日本語入力の動作を確認します。うまくいかないときは、画像の赤枠内を参考に入力モードを切り替えて操作します。
スクリーン ロックの設定

デスクトップの何もないところを[右クリック]して[設定]をクリックします。
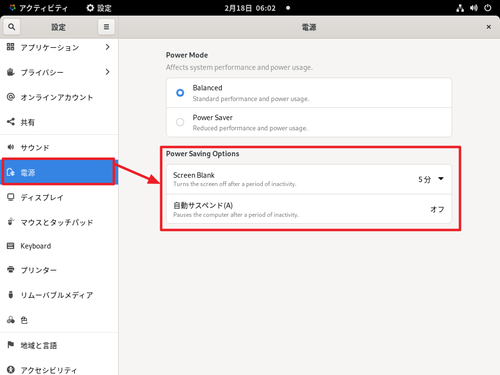
[電源]をクリックして「Power Saving Options」内を任意の設定にします。
電源の切り方
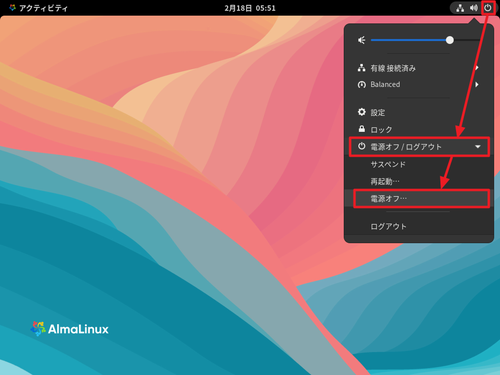
画面右上の[電源のアイコン]をクリック、[電源オフ / ログアウト]をクリック、[電源オフ …]をクリックします。
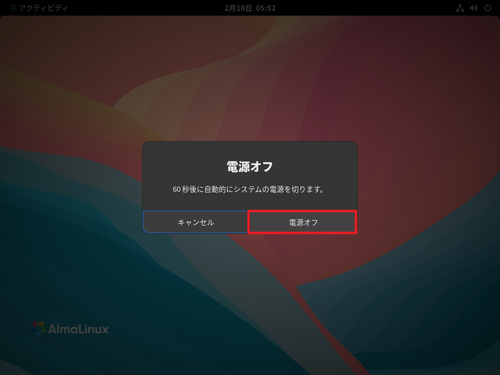
「電源オフ」と表示されたら[電源オフ]をクリックします。
参考
AlmaLinux:
$ free -h

               total        used        free      shared  buff/cache   available

Mem:           1.7Gi       952Mi       350Mi        17Mi       618Mi       801Mi

Swap:          1.6Gi          0B       1.6Gi
$ df -h
ファイルシス サイズ 使用 残り 使用% マウント位置
devtmpfs 4.0M 0 4.0M 0% /dev
tmpfs 878M 0 878M 0% /dev/shm
tmpfs 351M 5.6M 346M 2% /run
/dev/mapper/almalinux-root 13G 4.4G 8.5G 34% /
/dev/sda2 1014M 381M 634M 38% /boot
/dev/sda1 599M 7.0M 592M 2% /boot/efi
tmpfs 176M 108K 176M 1% /run/user/1000Rocky Linux:
$ free -h

               total        used        free      shared  buff/cache   available

Mem:           1.7Gi       1.0Gi       197Mi        17Mi       702Mi       732Mi

Swap:          1.6Gi          0B       1.6Gi
$ df -h

ファイルシス        サイズ  使用  残り 使用% マウント位置

devtmpfs              4.0M     0  4.0M    0% /dev

tmpfs                 878M     0  878M    0% /dev/shm

tmpfs                 351M  5.6M  346M    2% /run

/dev/mapper/rl-root    13G  4.4G  8.5G   35% /

/dev/sda2            1014M  380M  635M   38% /boot

/dev/sda1             599M  7.0M  592M    2% /boot/efi

tmpfs                 176M  120K  176M    1% /run/user/1000
Fedora Workstation:
$ free -h
               total        used        free      shared  buff/cache   available
Mem:           1.9Gi       1.1Gi        69Mi       7.0Mi       761Mi       666Mi
Swap:          1.9Gi        30Mi       1.9Gi
$ df -h
ファイルシス サイズ 使用 残り 使用% マウント位置
devtmpfs 4.0M 0 4.0M 0% /dev
tmpfs 977M 0 977M 0% /dev/shm
tmpfs 391M 1.4M 390M 1% /run
/dev/sda3 15G 3.9G 10G 28% /
tmpfs 977M 16K 977M 1% /tmp
/dev/sda3 15G 3.9G 10G 28% /home
/dev/sda2 974M 264M 643M 30% /boot
/dev/sda1 599M 18M 582M 3% /boot/efi
tmpfs 196M 128K 196M 1% /run/user/1000関連
CentOS 後継問題については、次のサポート記事をご参照ください:

様々な OS のインストール方法については、次のサポート記事をご参照ください:
参考文献等
- AlmaLinux OS – 永遠に無料の商用レベルのオペレーティングシステム
https://almalinux.org/ja/ - AlmaLinux OS
https://github.com/AlmaLinux - AlmaLinux – Wikipedia
https://ja.wikipedia.org/wiki/AlmaLinux - AlmaLinux – Wikipedia
https://en.wikipedia.org/wiki/AlmaLinux
注意
- 本操作例は、AlmaLinux 9.1 を新規環境にインストールするものです
スポンサードリンク