CentOS 後継である AlmaLinux 8.x に後から BlueOnyx 5120R をインストールする手順です。
BlueOnyx 5120R
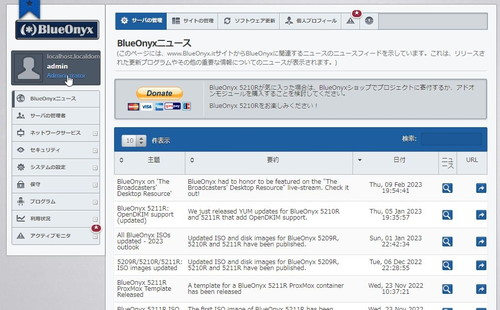
BlueOnyx は、サーバ管理システムのひとつです。通常は、BlueOnyx インストール ISO を使用して OS と BlueOnyx を一括してインストールします。
しかし、提供される OS テンプレートからしか選択できない VPS 環境など、任意の ISO からインストールできない環境もあります。その場合でも、BlueOnyx を後からインストールすることができます。
ここでは、例として CentOS の後継とされる OS のひとつである AlmaLinux 8.x を BlueOnyx 5120R 用に構築し、後から BlueOnyx 5120R をインストールします。 Rockey Linux 8.x でも同様の手順です。
ベース システムの構築
ここでは、例として BlueOnyx 5120R をインストールするために AlmaLinux 8.x の環境を構築します。すでに構築済みの AlmaLinux 8.x 環境がある場合は次の項にスキップします。
ここに記載する AlmaLinux 8.x のインストール手順は BlueOnyx をインストールすることを前提とした設定内容です。AlmaLinux インストール手順は抜粋して記述しています。AlmaLinux 本体のダウンロードやインストールについては、通常のインストール方法をご参照ください:

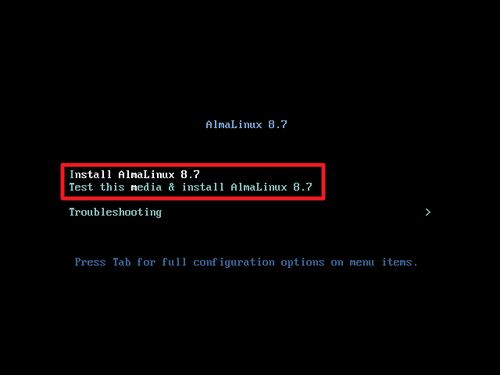
AlmaLinux 8.x インストール メディアから起動し、「Install AlmaLinux 8.7」または「Test this media & install AlmaLinux 8.7」を選択します。
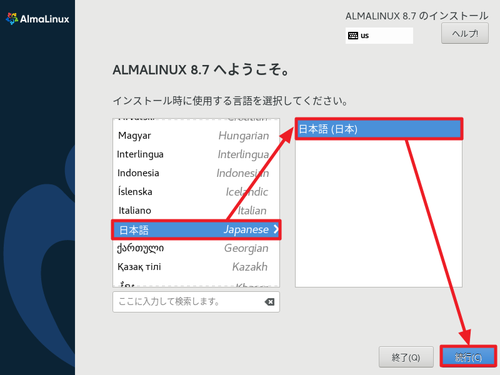
言語選択画面では、「日本語」を選択します。
地域設定
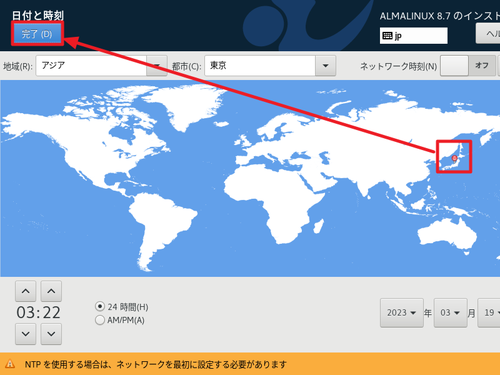
「時刻と日付」では「日本列島」をクリックして選択します。
ソフトウェア
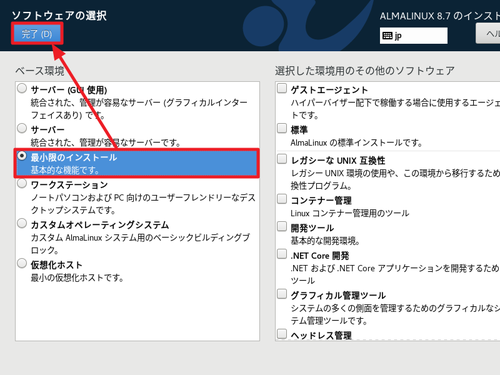
「ソフトウェアの選択」では「最小限のインストール」を選択します。
システム
インストール先
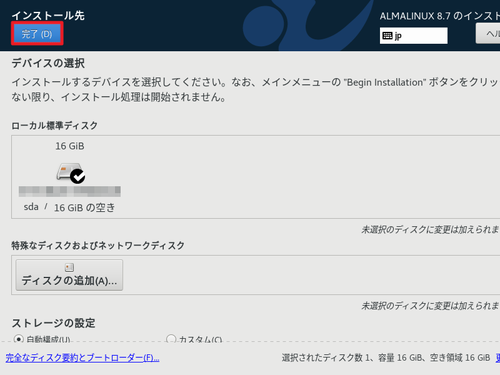
「インストール先」を選択します。
※この例では自動パーティション構成を採用しましたが、本格的な運用の場合は、 /home 等を手動設定することを推奨します。
KDUMP

「KDUMP」では「kdump を有効にする」のチェックを外します。
ネットワークとホスト名
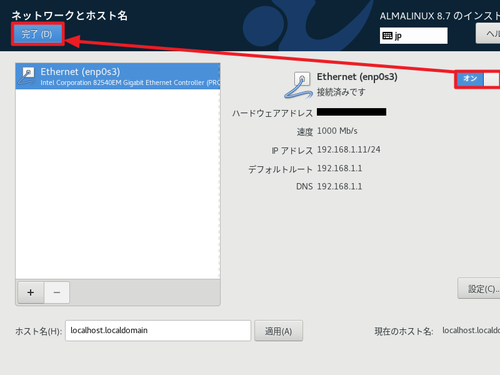
「ネットワークとホスト名」では、Ethernet をオンにします。
※ネットワーク管理者から設定すべき値を与えられている場合は、それに従います
ユーザーの設定
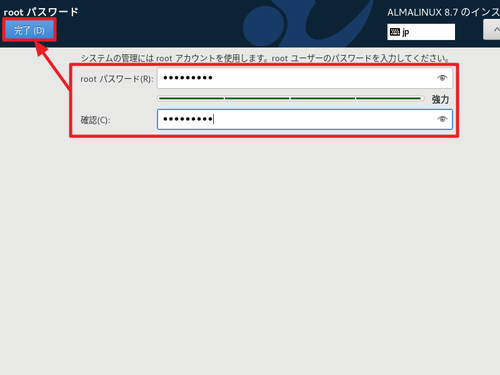
「root パスワード」では root パスワードを設定します。
インストールの開始

三角マークが消え、「インストールの開始」がクリックできる状態になったら[インストールの開始]をクリックします。
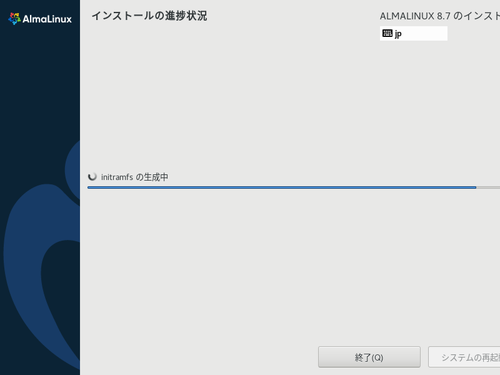
インストールが完了するまで待ちます。
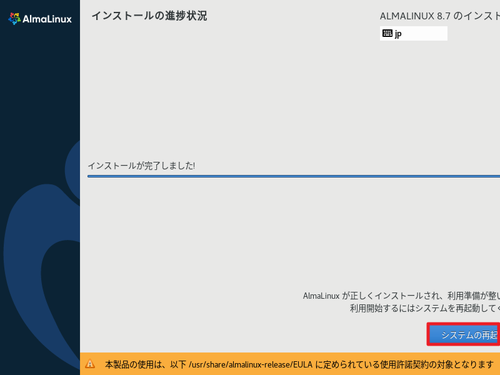
インストールが完了したら[システムの再起動]をクリックします。
BlueOnyx 5120R のインストール
次のコマンドを実行します:
yum install http://devel.blueonyx.it/pub/5210R.rpm -y完了したら次のコマンドを実行します:
yum groupinstall blueonyx -y完了したら次のコマンドを実行します:
/usr/sausalito/scripts/initServices.sh完了したら次のコマンドを実行します:
reboot※必ず再起動します
BlueOnyx のセットアップ
再起動後は ISO からインストールした場合と同様の流れになりますので、次のサポート記事をご参照ください:
関連
BlueOnyx のインストールについては、次のサポート記事をご参照ください:

参考文献等
- BlueOnyx 5210R manual install – BlueOnyx
https://www.blueonyx.it/5210r-manual-install
注意
- 本操作例は、新規作成した AlmaLinux 8.x 環境に BlueOnyx 5210R をインストールするものです
- BlueOnyx のインストールは、システムに大きな影響をもたらしますので、既存佳境に BlueOnyx をインストールする場合は、現在のシステム環境を完全に復元できるバックアップやスナップショットなど変更をロールバックできるようにしてから実行する必要があります
スポンサードリンク